-
And so it begins…
A couple of years into my journey of cybersecurity I have decided to create a public blog to keep track of my experience. Up until now I have used Microsoft OneNote to document everything that I do. I will continue to do that but will also publish some of the more interesting things onto this site. Hopefully, this blog can help someone else the same way that other people have helped me.
-
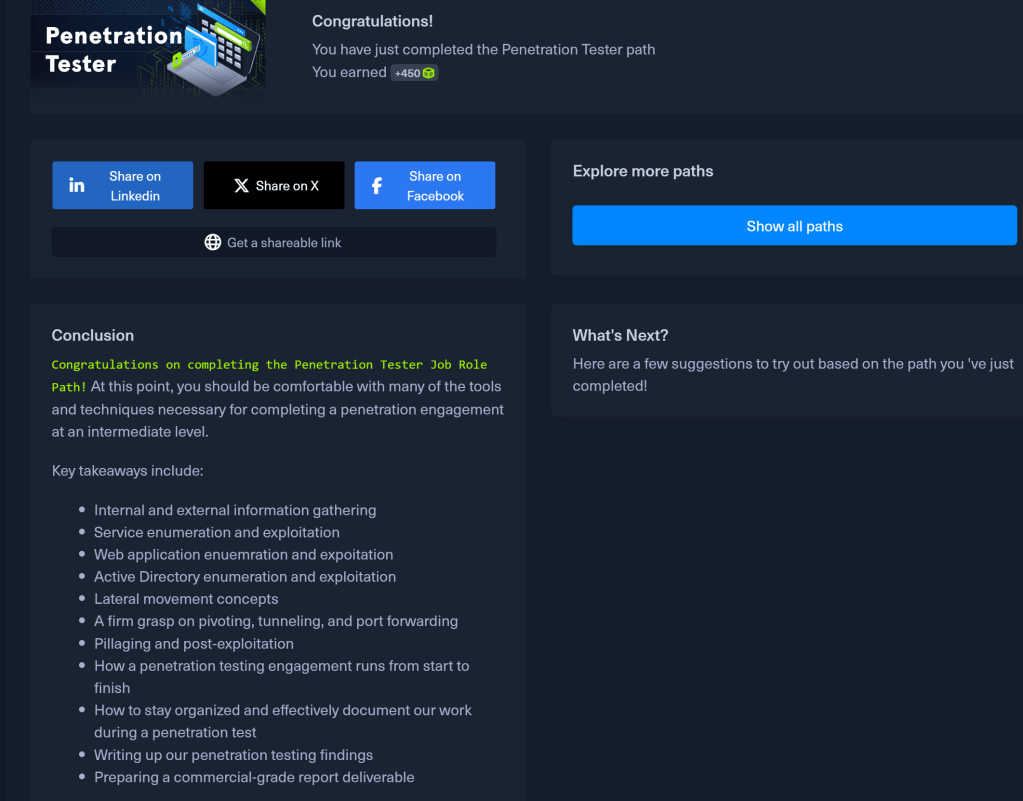
I completed the CPTS lab and the HTB Zephre Pro lab.
About a month ago, I completed all the modules in the HTB CPTS course. This course was time-consuming and it’s a prerequisite for anyone wishing to attempt the CPTS exam. Directly taking the exam without completing the course is not an option. I would highly recommend this course, even for those who may not be interested in taking the exam.
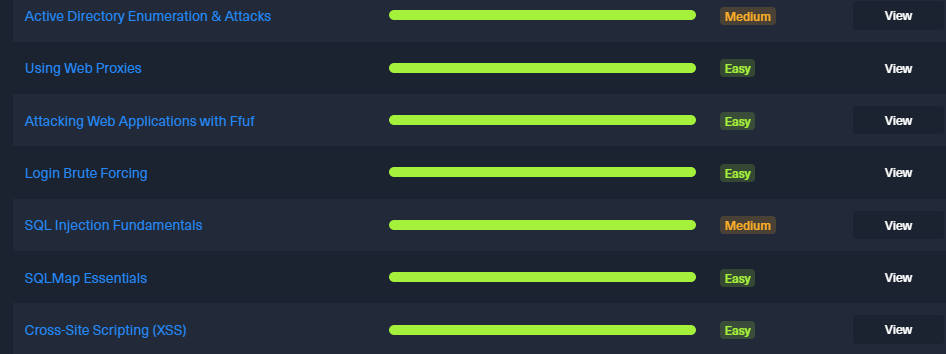
In the graphic below, you can see why this course takes a considerable amount of time to complete. It took me a year, primarily because I took the summer off. However, for someone with experience who is working full-time, I believe it could be completed within 4 to 6 months

After completing the course, I decided to practice for the test by tackling the Hack The Box Zephyr Pro lab. This lab simulates an intermediate Active Directory environment. I encountered some concepts not covered in the CPTS course, which required additional research. I also sought assistance through the HTB Discord channel twice when I faced challenges. It took me about two weeks to complete the lab, and I found it to be excellent practice for honing my AD attack methodology.
-
I completed more CPTS modules after taking the summer off.
I took the summer off from hacking to take my 14-year-old Shepherd mix camping. He likes the water and probably doesn’t have much time left, so we looked for camping sites near water. It was the most time off on the weekends I have taken in years. He had a blast and even swam in the ocean for the first time.

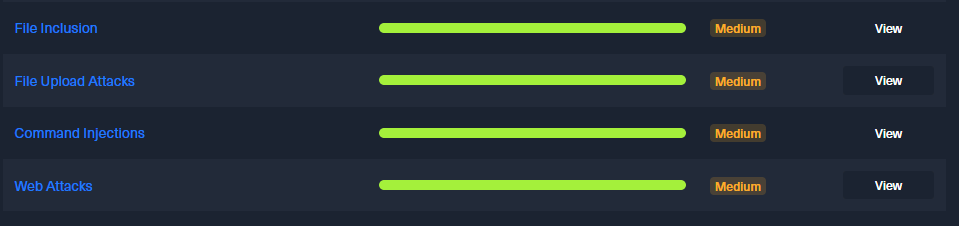
Over the last couple of weeks, I completed 4 more CPTS modules. The skills assessment for the web attacks module was a lot of fun.
I have 5 remaining modules to complete.

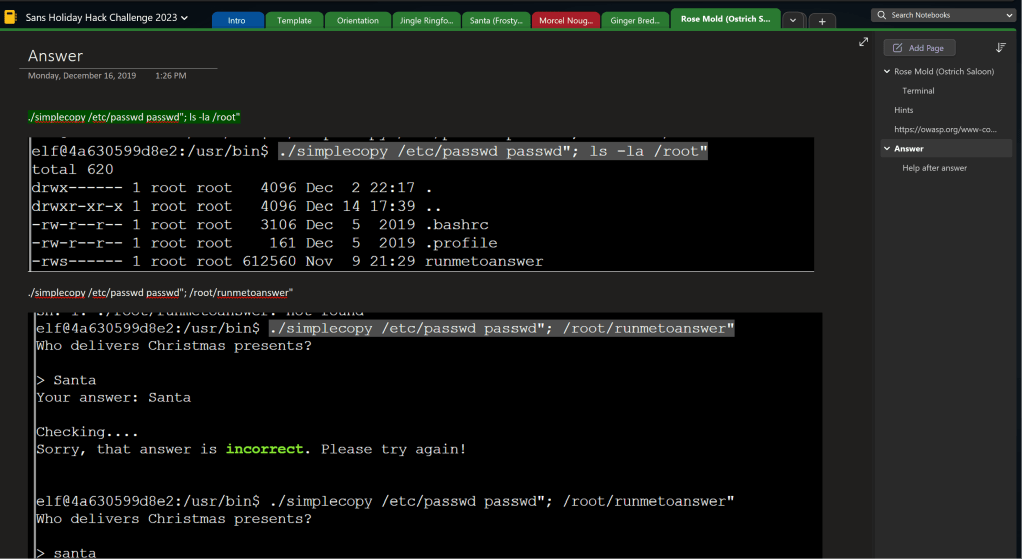
I have also been playing Holiday Hack Challenge 2023 (Kringlecon). I have not played as much as I would have liked since I am trying to spend more time finishing the CPTS course.
-
I completed more modules for the Hack the Box CPTS course
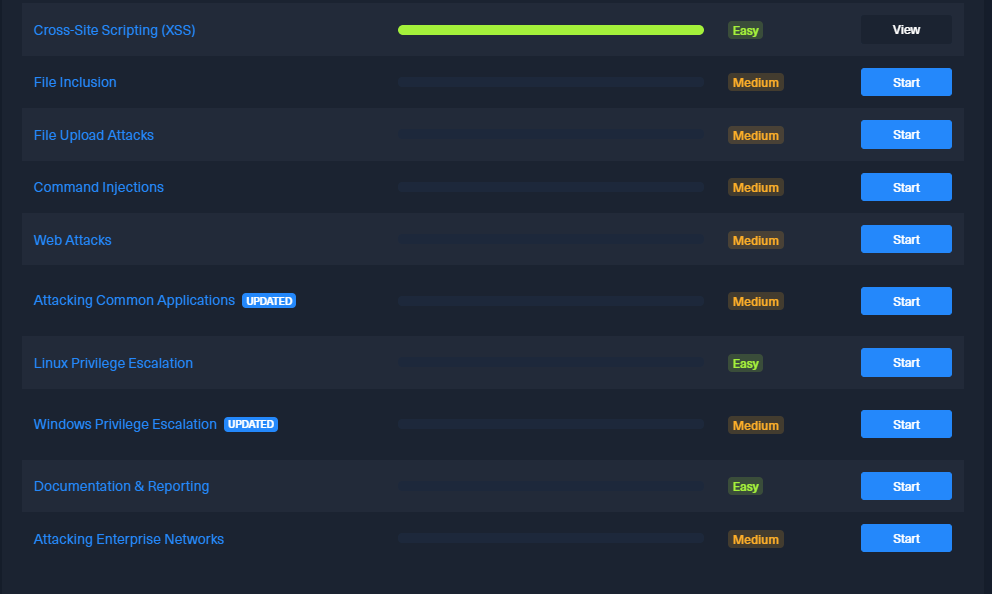
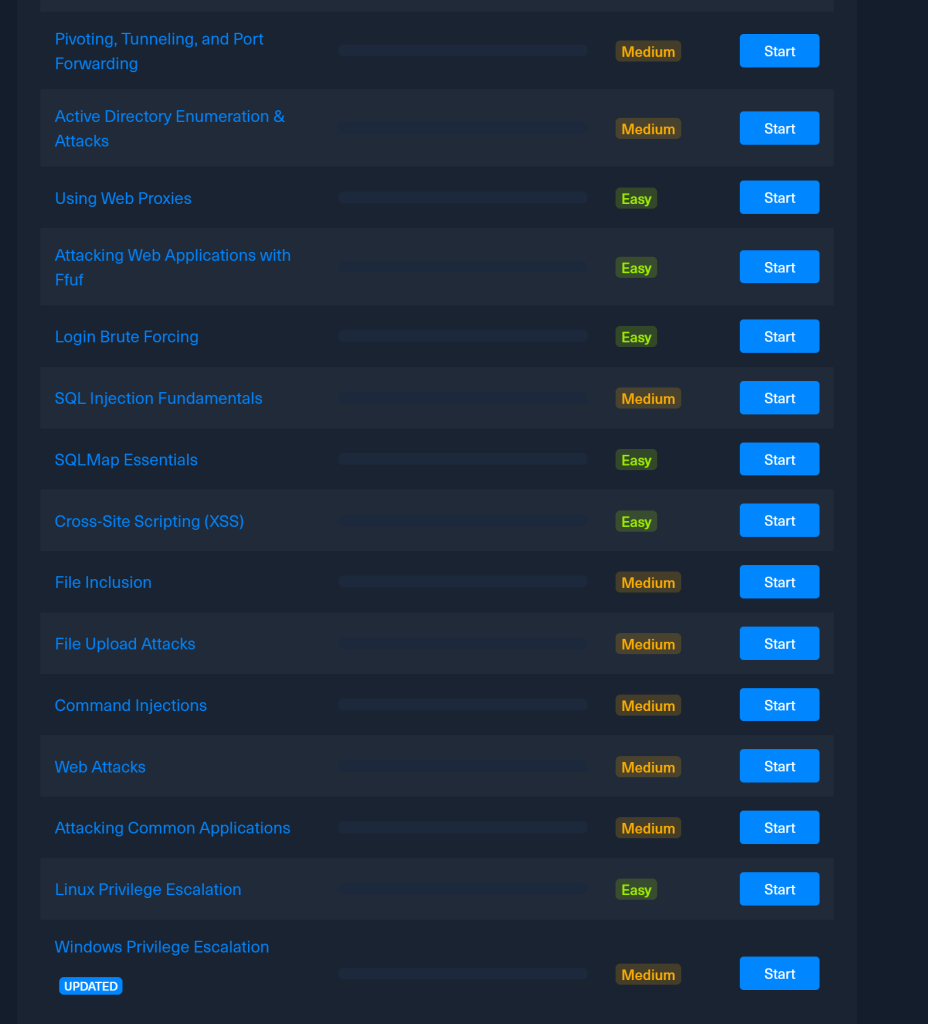
These are the modules that I still need to finish.
-
I completed the HTB CPTS Active Directory Enumeration and Attack Module
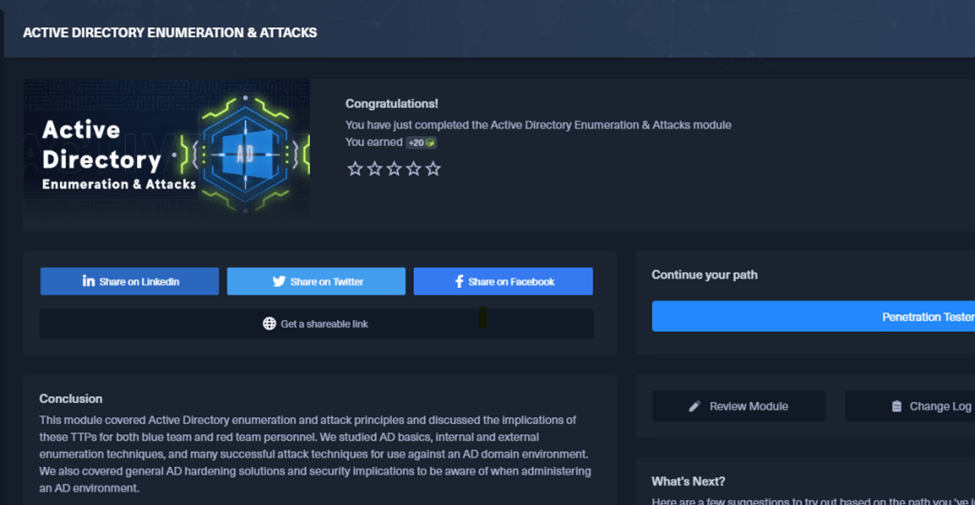
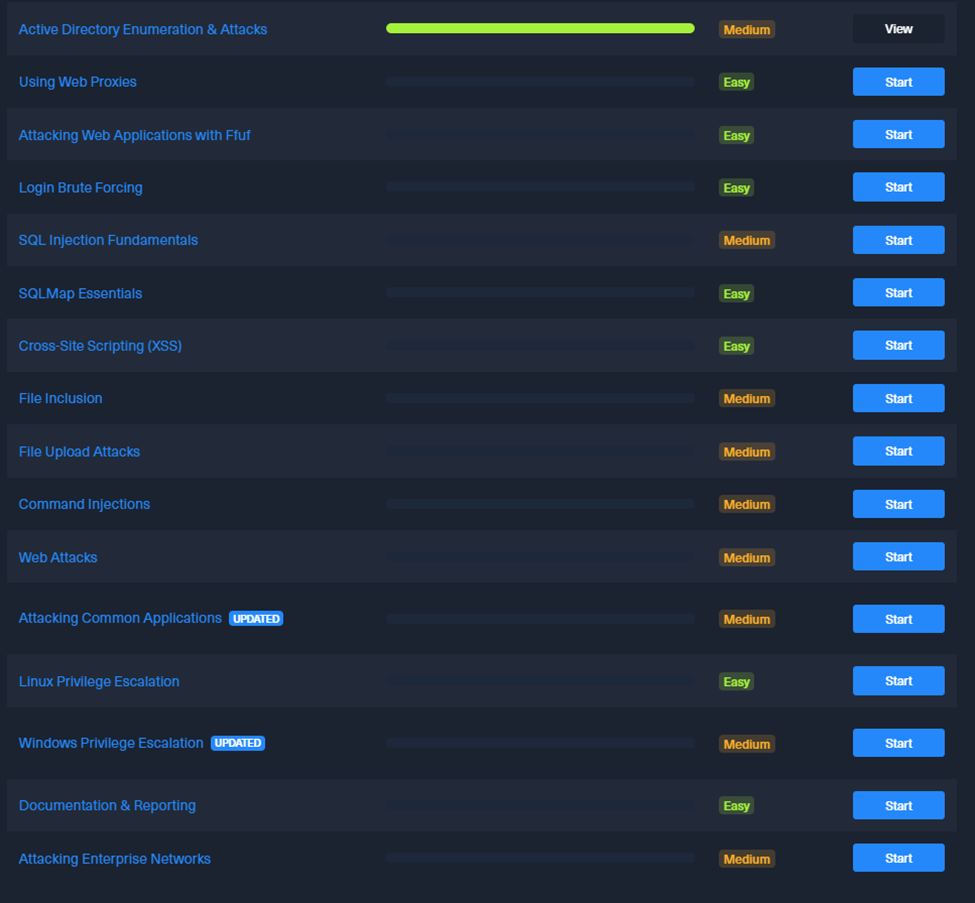
This took a while to complete between other things I have been working on. I now have the following modules to finish.
-
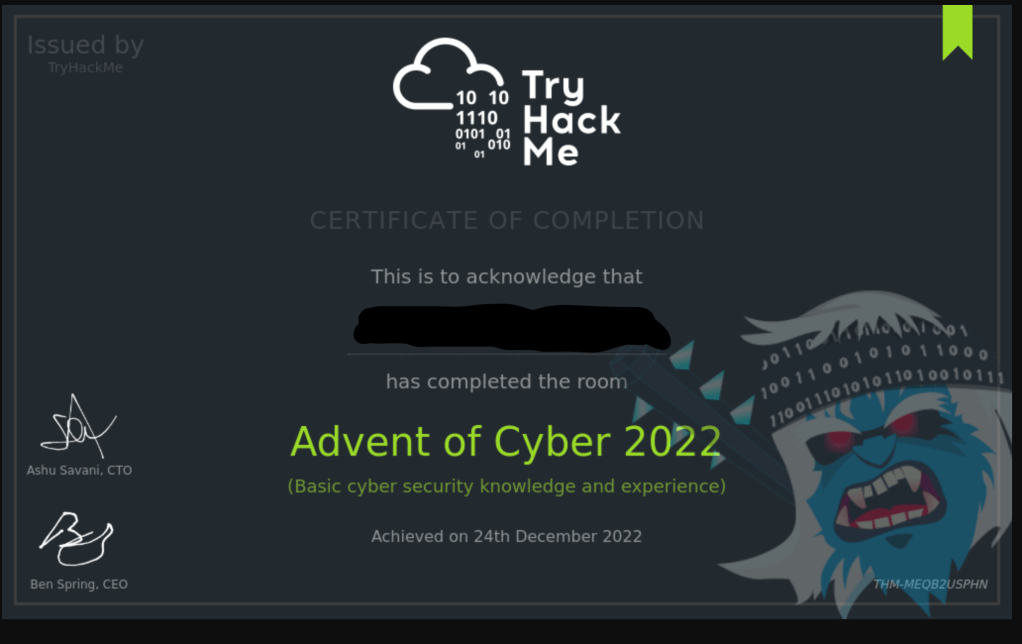
Advent of Cyber 2022
I completed the Try Hack Me Advent of Cyber 2022 today. I am still working through the KringleCon V challenges.
-
Attacking and Defending Active Directory (CRTP) and the HTB Certified Penetration Testing Specialist (HTB CPTS) courses
Over the past couple of months, I have been busy working through two courses. Last month, I completed the Attacking and Defending Active Directory course in preparation for the Certified Red Team Professional (CRTP) exam. Additionally, I have been working my way through HTB’s new Certified Penetration Testing Specialist course.
The Active Directory labs provided information on attacking AD using PowerShell and PowerSploit scripts, as well as Bloodhound and other tools. The scenario involved being dropped into a company as a user without administrator privileges. I watched videos and read PDFs to grasp the concepts and then applied them in a lab. Along the way, I found flags and entered them into my online account. This course taught me a lot about attacking Active Directory.
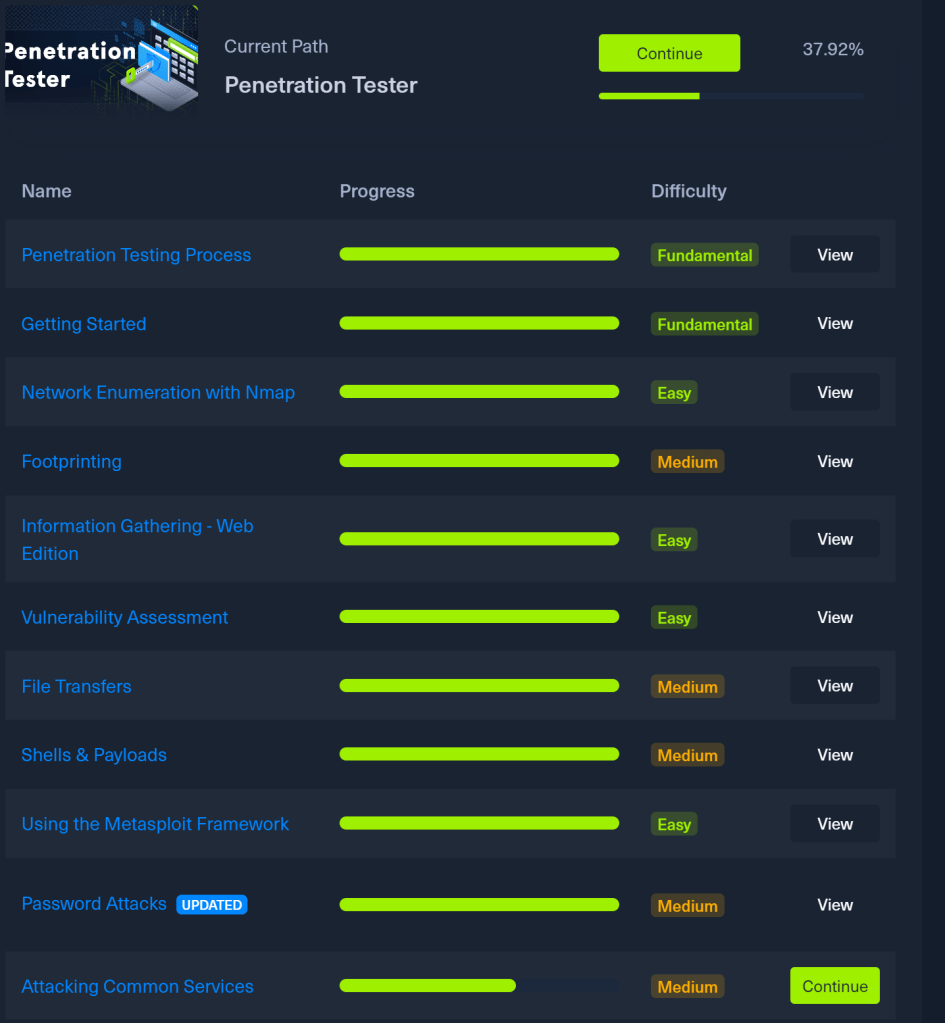
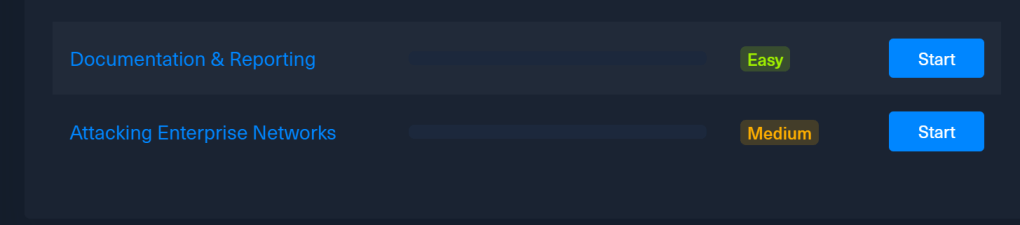
The HTB Certified Penetration Testing Specialist (HTB CPTS) course consists of 28 modules and includes an exam voucher. While the course claims to be geared towards Junior Penetration Testers, I believe that someone with no previous experience would find it challenging to complete. Much of the information covered overlaps with what I learned in the OSCP and the eCPPTv2 courses. However, I did pick up some new tricks from the modules, so I don’t feel like I am wasting my time. Each module is rated as easy or medium difficulty. I work through the modules and then perform the labs in my own virtual machine using the VPN or their online machine running Parrot Linux.
I have been using the online instances without any issues. If the time limit expires, I simply spawn a new instance, which provides a fresh environment and causes any changes to be lost. So far, this has not been a problem for me, but as I proceed deeper in the modules it might be. At the end of each module there is a skills assessment section featuring problems categorized as easy, medium, and hard. Over the past month, I have completed approximately 38 percent of the course by working through the modules listed below.
The remaining modules are
I have been having a blast doing this course and would highly recommend it to anyone interested in learning penetration testing.
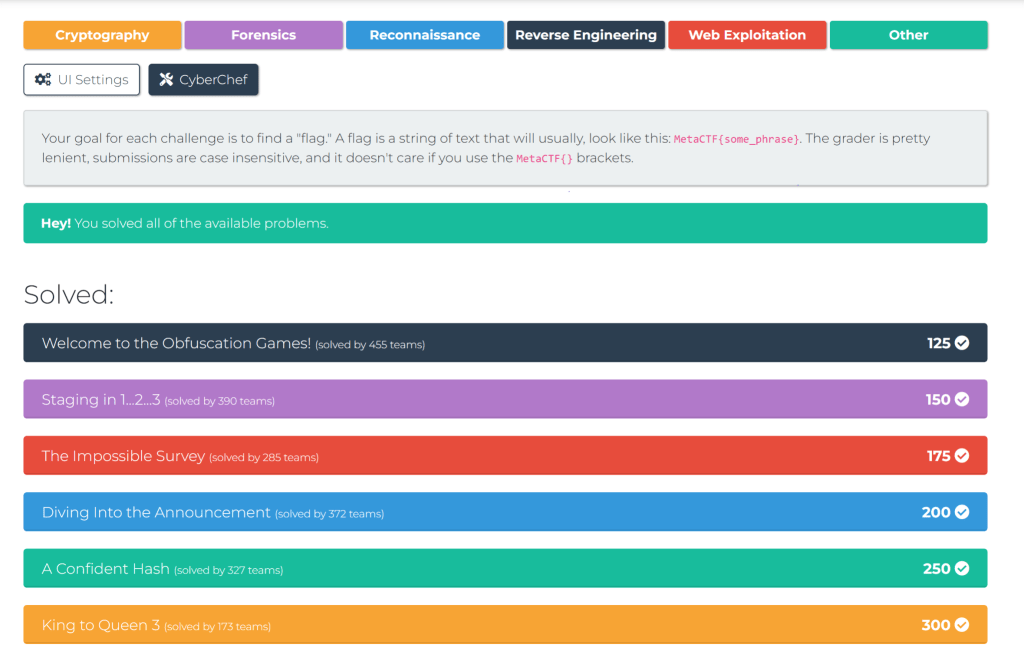
I also found some time this week to do a quick CTF during my lunch hour hosted by Black Hills Information Security called the Turkey Express Mini CTF 2022 and successfully completed it. The majority of the questions were not difficult, except for the last one. I had to look up how to complete the cypher online and then work through the problem. Cryptography questions have never been my strong suit, but I was able to overcome it.
Now I am going to prepare to eat some turkey tomorrow and watch football with family.
-
I passed the eCPPTv2 Test
I received the pass email for the eCPPTv2 test last week, just a day after submitting my report. I dedicated all 14 days to working on the test, mainly during weekends and after work hours. However, I encountered some difficulties with my Kali virtual machine and ended up performing a full upgrade during the test, which is not for the faint of heart. Writing the report proved to be the most demanding part for me, as I hadn’t previously worked on such an extensive report. My final report ended up being 85 pages long, and I had to make adjustments to ensure it was below the 10MB upload limit. Since there are many reviews available, I won’t delve into that. Instead, I will share what I believe test-takers should focus on the most.
- Know Metasploit inside and out as well as how to pivot with Metasploit and ProxyChains. Knowing how to pivot with Chisel, Socat and other tools is also helpful.
- You can use every tool on this exam so use them to your advantage. This is a penetration test and not a capture the flag event, so you want to find as many vulnerabilities as possible.
- If a payload is not working stop and think why. Do not just go into “Captain throw a shell” mode.
- Understand how to do a simple buffer overflow exploit and have a template already created for the test. I used a Windows 10 machine with Immunity Debugger already installed.
- Research report writing techniques if you haven’t written one before taking the test. I wish I had practiced writing a sample report beforehand.
- Take a lot of screenshots during testing. This is not hard for me as I have always documented everything while doing practice machines in OneNote.
- Spend a lot of time on your report and make sure everything is correct. At first, I did not like doing the report. But after completing the report it gave me a fresh look on doing one. Reading through it made me proud, as it represented a timeline of the vulnerabilities I had identified and exploited.
Now that I have finally completed the test, I plan to take a couple of weeks off to participate in the Hack The Box – Cyber Apocalypse CTF 2022, which is taking place this upcoming weekend.
-
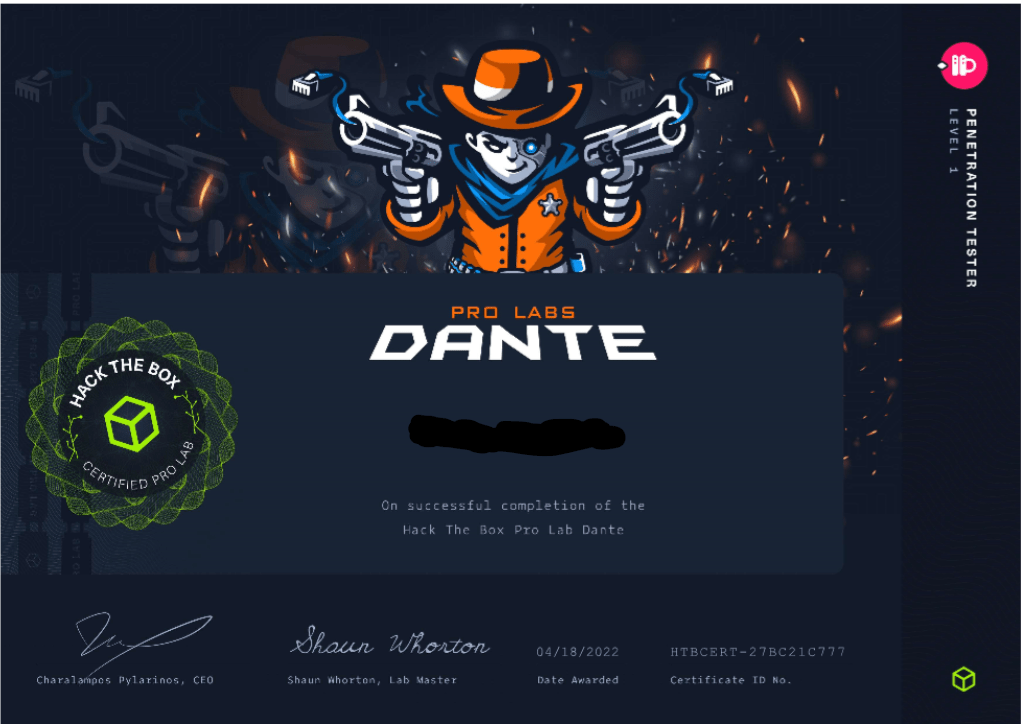
Hack the Box Dante Pro Lab
To prepare for the eCPPTv2 test I decided to do the Dante Pro Lab on Hack the Box. I had previously completed the Wreath network and the Throwback network on Try Hack Me after taking time off. Dante consists of 14 machines and 26 flags and has both Windows and Linux machines. There are also Windows and Linux buffer overflows in the network but that is not the only way to exploit the machine that they are on. The lab is described as beginner level but if someone has little to no experience it would be a challenge for them to complete. There are no hints, and if you are stuck the only help is joining the Discord channel. I found this enjoyable and the people there were helpful. There are pivots, lots and lots of glorious pivots. I used about every pivot tool including Sshuttle, Chisel, SSH and even the Metasploit SOCKS proxy module.
I did have one problem in the lab with the machine the Windows buffer overflow was on. I got a shell on the machine as a low-level user. I found the executable for the buffer overflow and created the exploit, and I could get a remote shell as the low-level user if I started the program. The problem was that there was no high-level user running the program. I verified with the HTB Discord admins that there should be a port open running the program. I was told to wait until the morning because the machines reset every night. I had the same problem the next day and I spent about four days messing with this machine thinking I must be doing something wrong. I even rebooted the machine thinking someone had crashed it before I got on it again. I gave up getting system using the buffer overflow and I decided to get system another way. I cracked the administrator hash and then used the password to RDP into the machine as the administrator. The program started running on the desktop and was listening on the designated port. I was then able to get a reverse shell using my exploit as system. My guess is that something in the config was broken, and the administrator was not auto logging into the machine after the resets.
The lab took me about 2 months to complete doing it at lunch and after work and on the weekend. I found the experience with Dante enjoyable and well worth the money spent.
-
New book Advanced Security Testing with Kali Linux
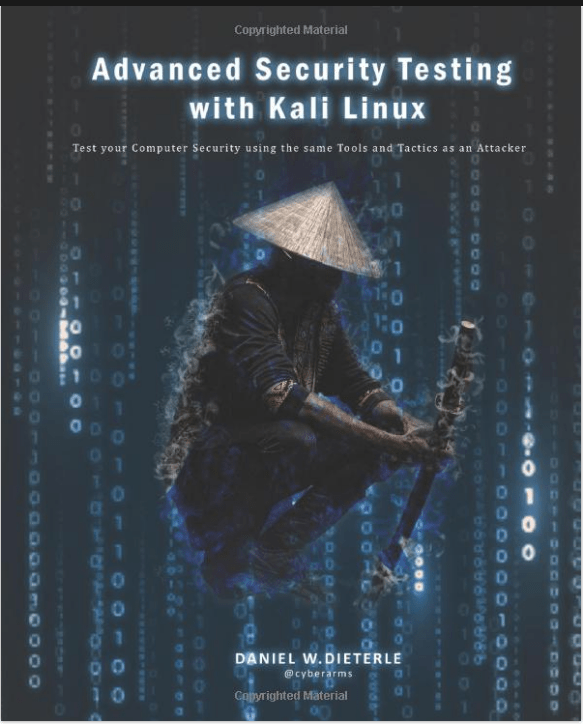
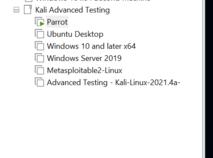
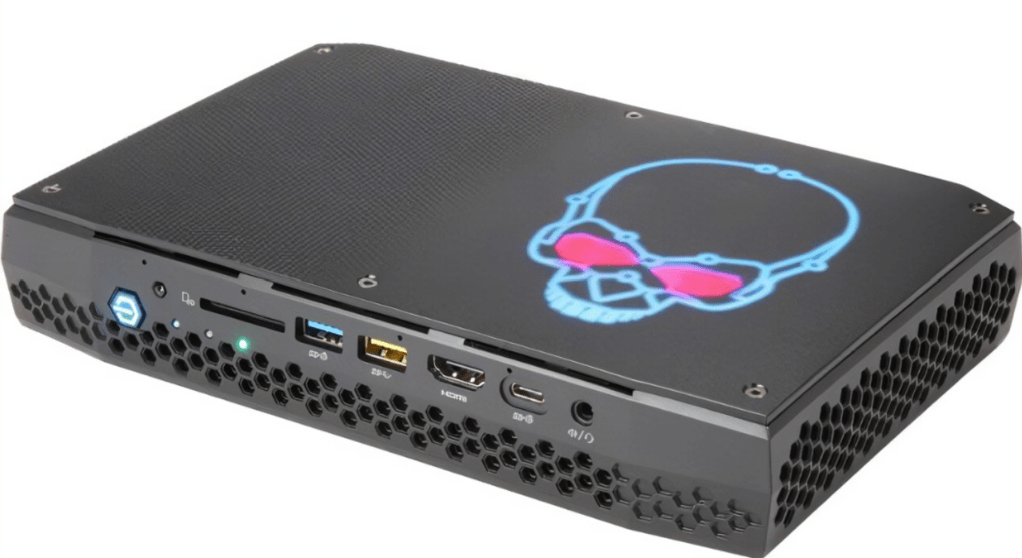
I purchased Daniel Dieterle’s new Advanced Security Testing with Kali Linux book. At the time it is only available in hard copy although he said he plans a Kindle release. It is a big thick book with over 700 pages so I would have preferred the Kindle version. I have read his previous Kali books a couple of years ago when I was starting out. The first section of chapters walks you through creating the lab for the book. I went ahead and setup the lab on my Intel Nuk machine since I wanted to follow along with the book. The virtual machines are a Windows 2019 AD Server with badblood run on it to populate Active Directory. A Windows 10 workstation but I guess you could use Windows 11 if you want. I installed Kali on my Nuk instead of using my go to install on my Surface Book 3. I did not want to mess up my good version I used for other things. You also install the OWASP Juice Shop on Kali although I don’t know why I just could not of put it on Ubuntu. An Ubuntu Workstation running OWASP Mutillidae 2 and all the prerequisites for it. I followed the video walkthroughs linked in the GitHub page and I only had one issue with changing the root password for MySQL. The fix for this is in the comments of that MySQL video. You also install the Damn Vulnerable Web Application (DVWA) on the Ubuntu box. Although it is not in the book I also installed Parrot Security to mirror the Kali tasks because I have not used it and wanted to check it out. All of these virtual machines are in VMware Workstation. The last machine was Metasploitable 3 which I had to install VirtualBox for. Reading the documentation on the GitHub site it sounded like you could make it work in VMware. I tried but had errors so I decided to just do it the way the book recommended but follow the directions on the site. I made it where both the VirtualBox and the VMware machines were on the same network and could talk to each other.
VMware setup 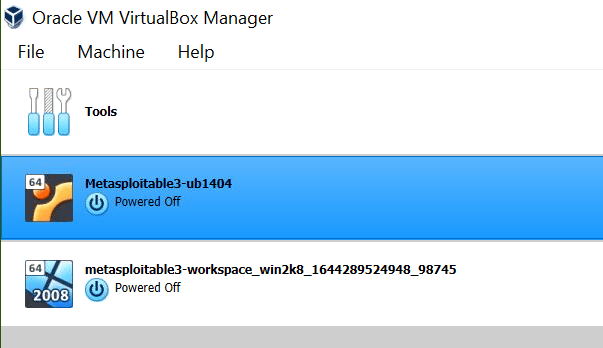
Virtual Box Setup The last thing I need to do before working through the book is to copy my Elastic Security virtual machine I set up earlier and change the IP address and .yml config files to this network. I will add another Windows 10 Workstation machine with the Elastic Agent installed on it and parallel the commands between the machines. So far I am enjoying the book.
-
Installing Elastic Security
I wanted to install Elastic Security to use in my home lab machine. I have used Helk and Security Onion in the past. I found some walkthroughs on how to do this but had some trouble following them to get this to work. This is my documentation on how I installed it.
My home lab is an Intel Nuk running Windows 10 and VMware Workstation 6 with 32 GB ram and two 1TB Samsung 970 EVO SSD drives. The virtual machines consist of a Windows 2019 Domain controller and a couple of Windows 10 workstations. I run Kali from my Surface Book 3 so I can practice stuff anywhere.
I created a new machine and installed Ubuntu Server 20.04 using a static IP address. This is standard stuff so I will not document that part. This from my OneNote notes I take while I am doing stuff. If you do not understand the steps read the blog I linked at the bottom of this page. My steps are the cliff notes version of his post with all the commands and screenshots to make it easier for me to redo the machine again. I could not have figured this out if it was not for his work. These are the exact steps that worked in the end for me after about 5 tries because of things I did wrong like installing elastic as root.
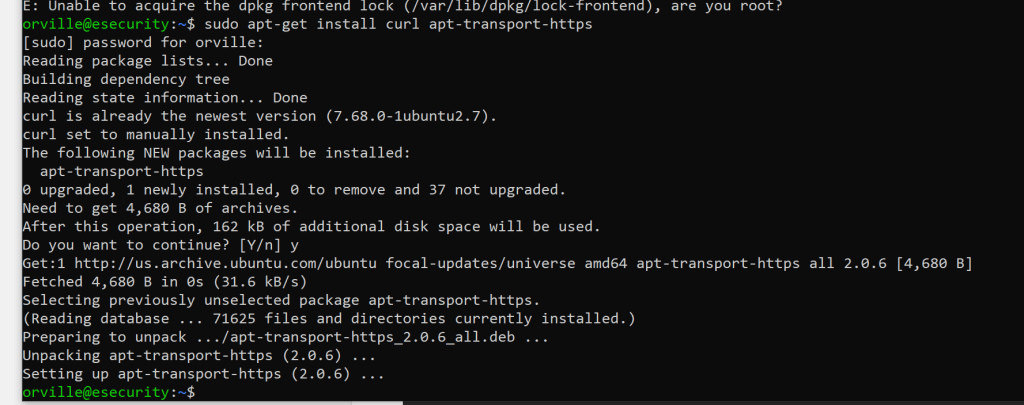
Installing Elasticsearch, Kibana and Filebeat
sudo apt-get install curl apt-transport-https
sudo curl -s https://artifacts.elastic.co/GPG-KEY-elasticsearch | apt-key add –

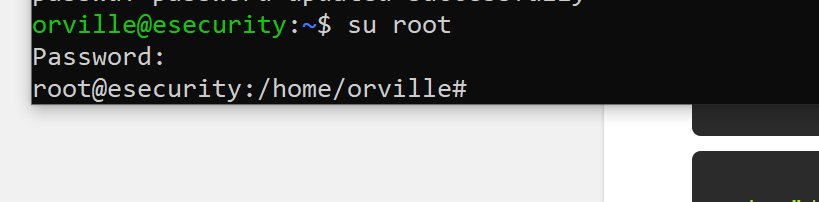
sudo passwd root

su root
sudo curl -s https://artifacts.elastic.co/GPG-KEY-elasticsearch | apt-key add –

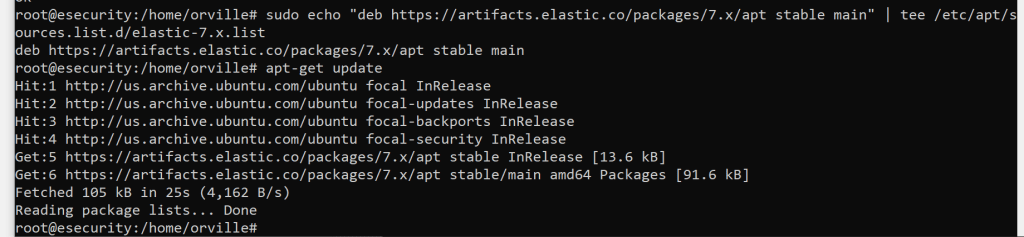
sudo echo “deb https://artifacts.elastic.co/packages/7.x/apt stable main” | tee /etc/apt/sources.list.d/elastic-7.x.list

apt-get update
switch back to the none root user before install Elastic
exit

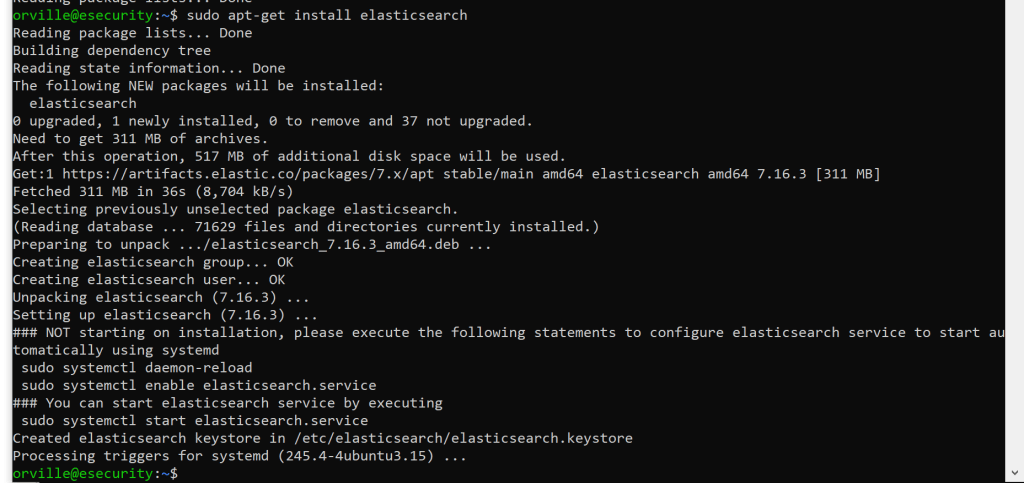
sudo apt-get install elasticsearch
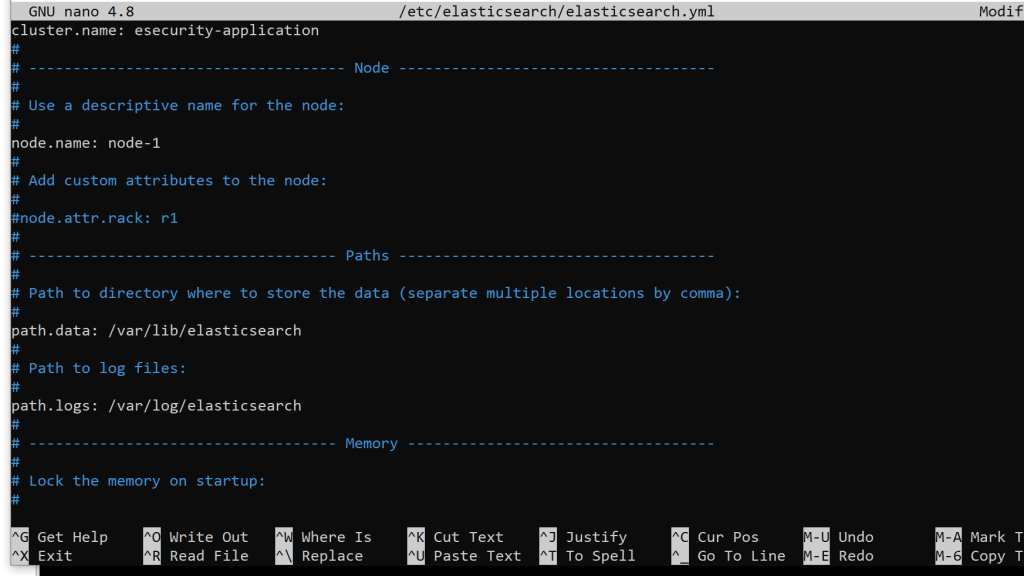
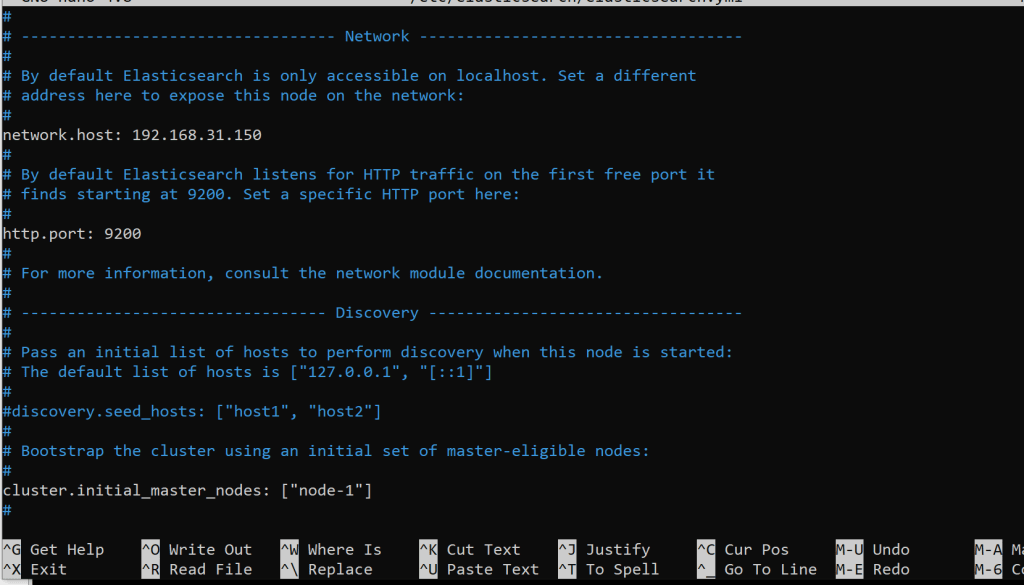
sudo nano /etc/elasticsearch/elasticsearch.yml
I made these changes
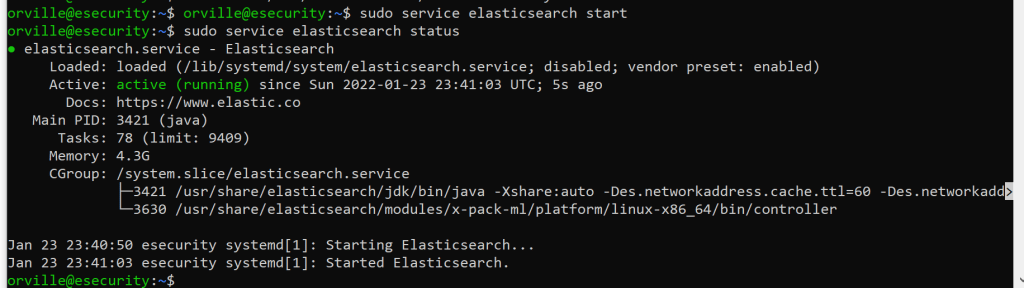
sudo service elasticsearch start
sudo service elasticsearch status
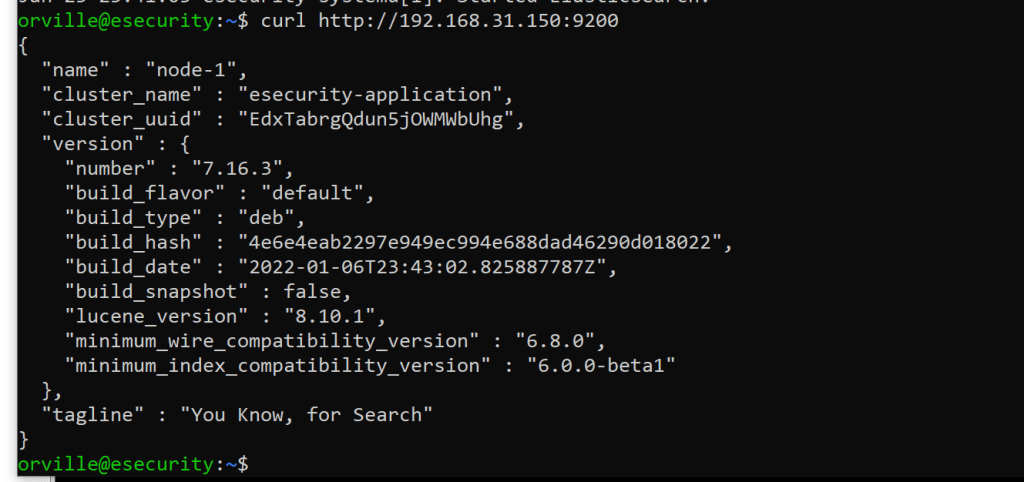
curl http://192.168.31.150:9200
take a snapshot
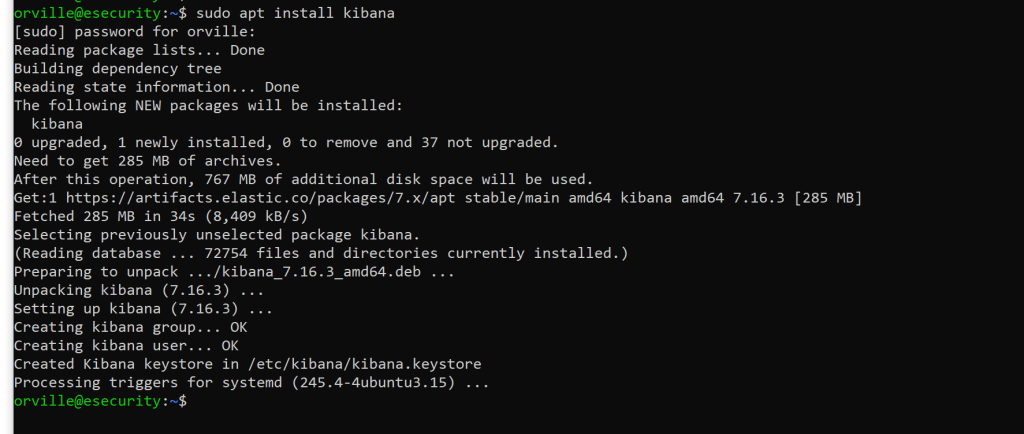
sudo apt-get install kibana
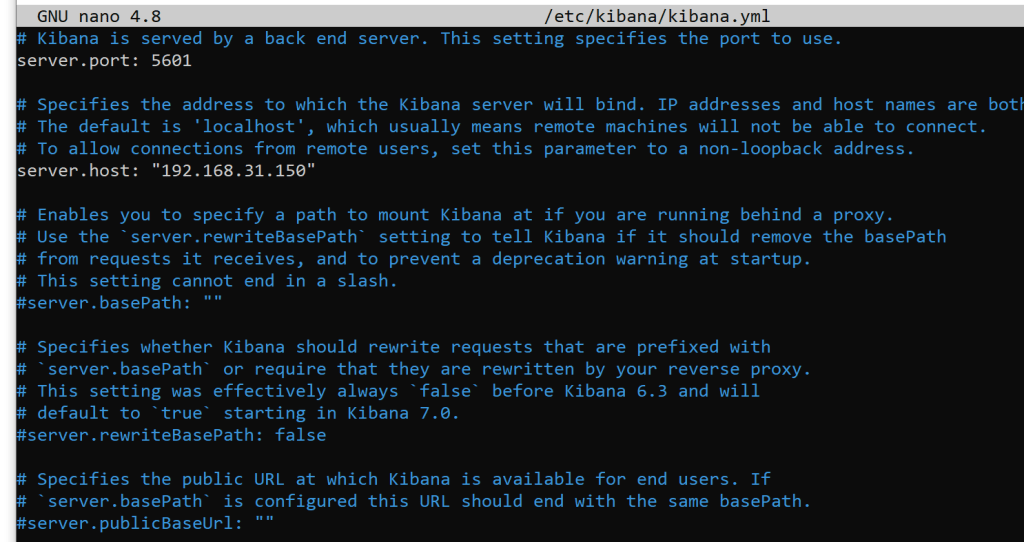
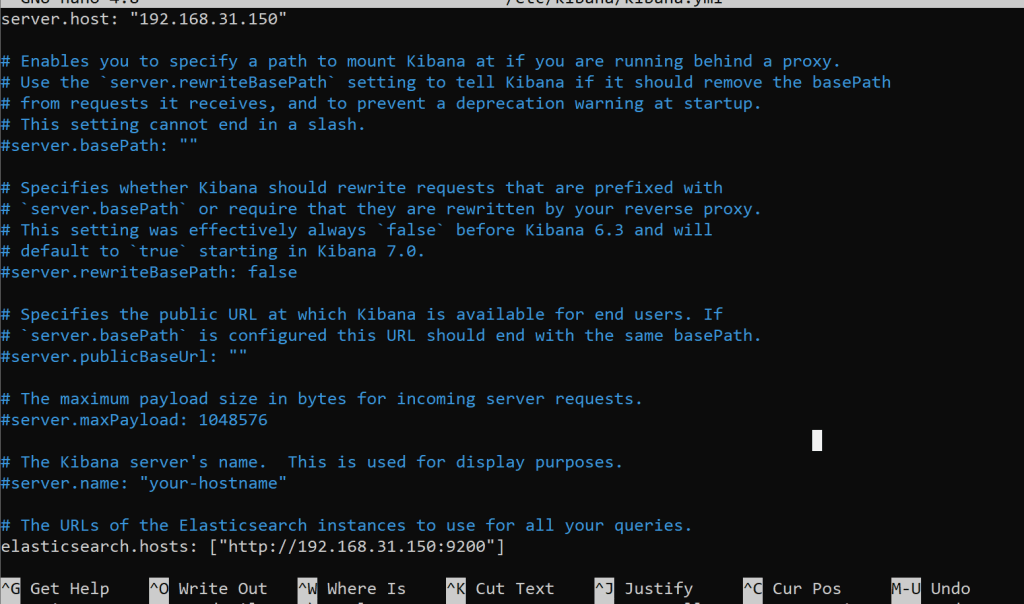
sudo nano /etc/kibana/kibana.yml
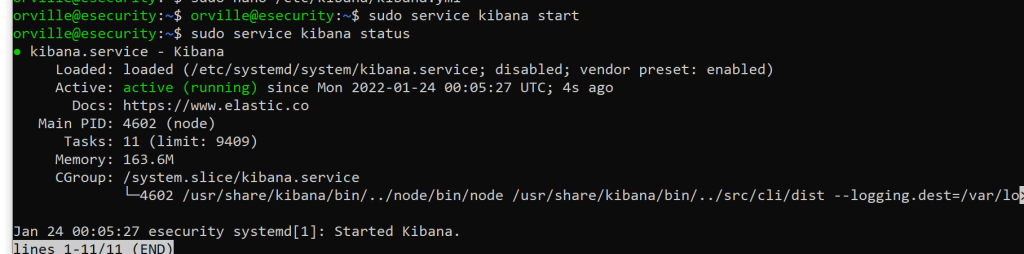
sudo service kibana start
sudo service kibana status
curl http://192.168.31.150:5601

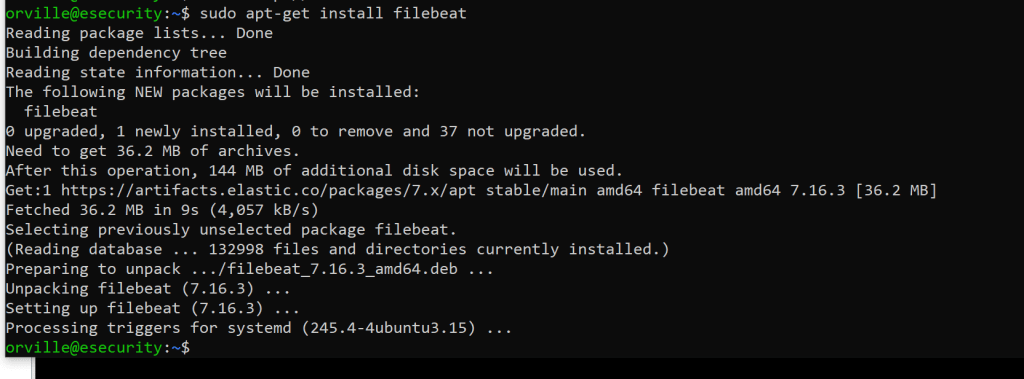
sudo apt-get install filebeat
sudo systemctl enable elasticsearch
sudo systemctl enable kibana
sudo systemctl enable filebeat

Create the certificates and directories
cd to /usr/share/elasticsearch

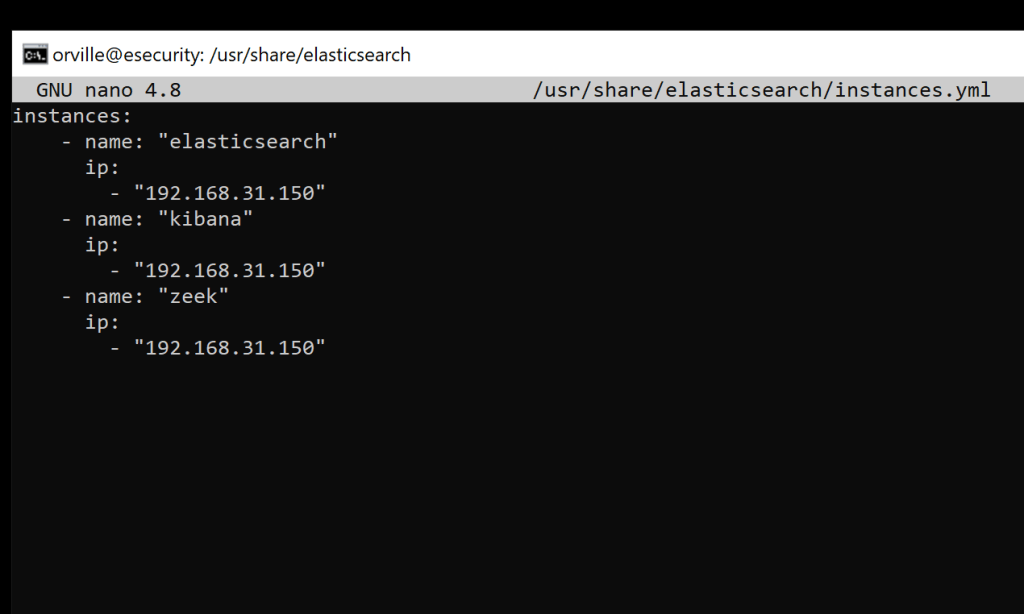
sudo nano /usr/share/elasticsearch/instances.yml
instances:
– name: “elasticsearch”
ip:
– “192.168.31.150”
– name: “kibana”
ip:
– “192.168.31.150”
– name: “zeek”
ip:
– “192.168.31.150”

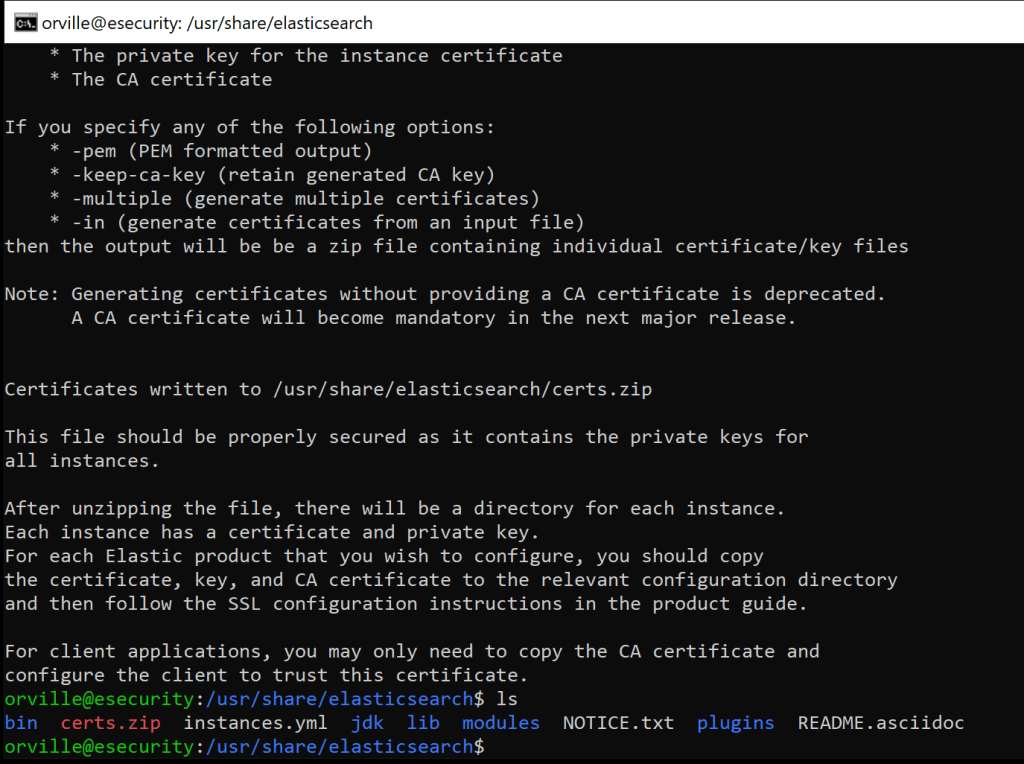
sudo /usr/share/elasticsearch/bin/elasticsearch-certutil cert ca –pem –in instances.yml –out certs.zip
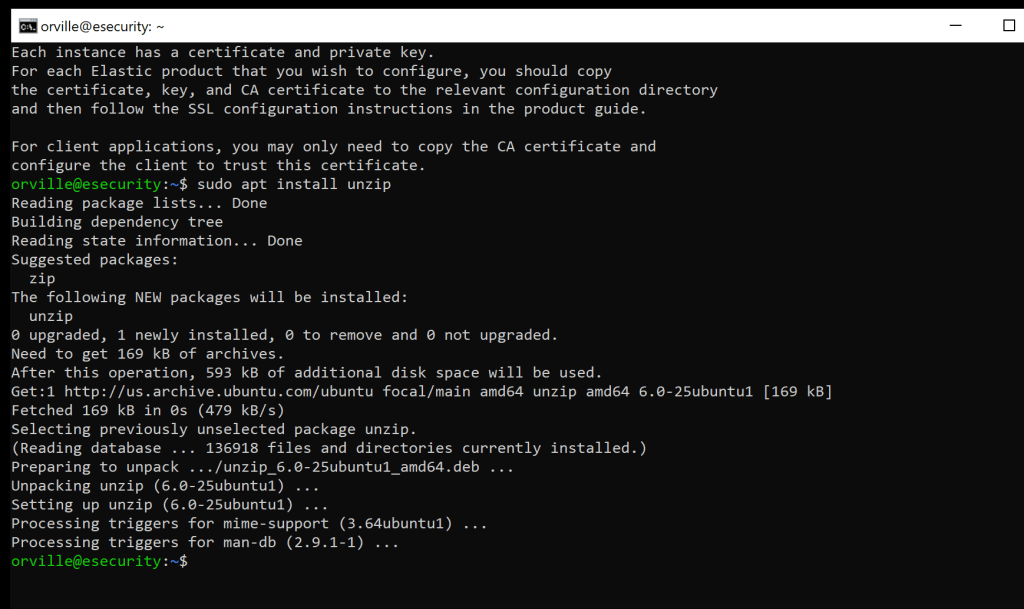
sudo apt install unzip
sudo unzip /usr/share/elasticsearch/certs.zip -d /usr/share/elasticsearch/

sudo mkdir /etc/elasticsearch/certs/ca -p

sudo locate elasticsearch
sudo cp ca/ca.crt /etc/elasticsearch/certs/ca
sudo cp elasticsearch/elasticsearch.crt /etc/elasticsearch/certs
sudo cp elasticsearch/elasticsearch.key /etc/elasticsearch/certs
sudo chown -R elasticsearch: /etc/elasticsearch/certs
sudo chmod -R 770 /etc/elasticsearch/certs

sudo nano /etc/elasticsearch/elasticsearch.yml
# Transport layer
xpack.security.transport.ssl.enabled: true
xpack.security.transport.ssl.verification_mode: certificate
xpack.security.transport.ssl.key: /etc/elasticsearch/certs/elasticsearch.key
xpack.security.transport.ssl.certificate: /etc/elasticsearch/certs/elasticsearch.crt
xpack.security.transport.ssl.certificate_authorities: [ “/etc/elasticsearch/certs/ca/ca.crt” ]
# HTTP layer
xpack.security.http.ssl.enabled: true
xpack.security.http.ssl.verification_mode: certificate
xpack.security.http.ssl.key: /etc/elasticsearch/certs/elasticsearch.key
xpack.security.http.ssl.certificate: /etc/elasticsearch/certs/elasticsearch.crt
xpack.security.http.ssl.certificate_authorities: [ “/etc/elasticsearch/certs/ca/ca.crt” ]
use right-click into the ssh nano terminal to paste this

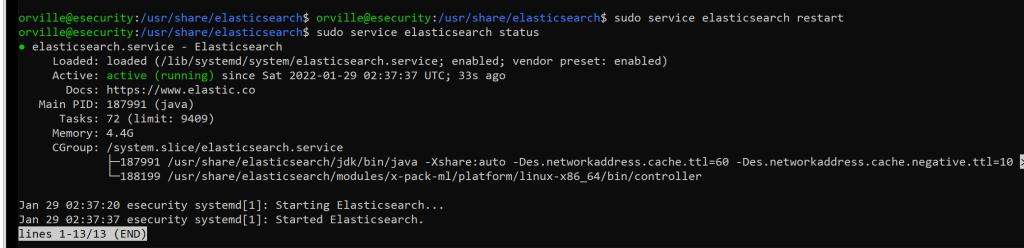
sudo service elasticsearch restart
sudo service elasticsearch status
sudo mkdir /etc/kibana/certs/ca -p
sudo cp ca/ca.crt /etc/kibana/certs/ca
sudo cp kibana/kibana.crt /etc/kibana/certs
sudo cp kibana/kibana.key /etc/kibana/certs
sudo chown -R kibana: /etc/kibana/certs
sudo chmod -R 770 /etc/kibana/certs

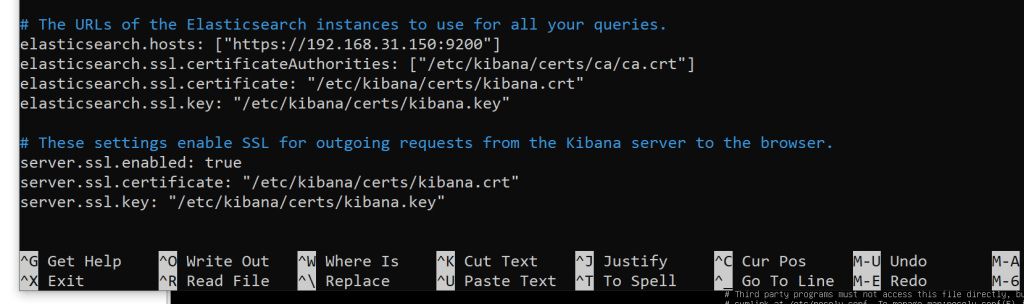
sudo nano /etc/kibana/kibana.yml
# The URLs of the Elasticsearch instances to use for all your queries.
elasticsearch.hosts: [“https://192.168.31.150:9200“]
elasticsearch.ssl.certificateAuthorities: [“/etc/kibana/certs/ca/ca.crt”]
elasticsearch.ssl.certificate: “/etc/kibana/certs/kibana.crt”
elasticsearch.ssl.key: “/etc/kibana/certs/kibana.key”
# These settings enable SSL for outgoing requests from the Kibana server to the browser.
server.ssl.enabled: true
server.ssl.certificate: “/etc/kibana/certs/kibana.crt”
server.ssl.key: “/etc/kibana/certs/kibana.key”
Note: Make sure that the elasticsearch.hosts line is commented out towards the top
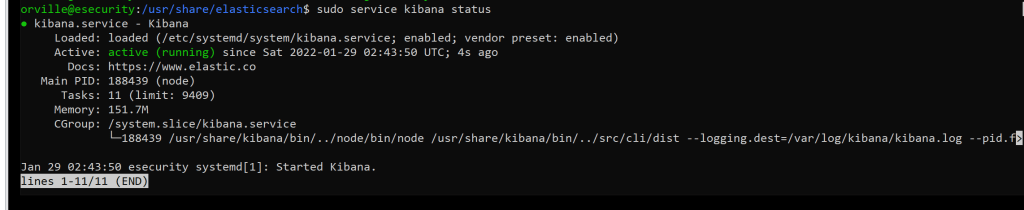
sudo service kibana restart
sudo service kibana status
sudo mkdir /etc/filebeat/certs/ca -p
sudo cp ca/ca.crt /etc/filebeat/certs/ca
sudo cp zeek/zeek.crt /etc/filebeat/certs
sudo cp zeek/zeek.key /etc/filebeat/certs
sudo chmod 770 -R /etc/filebeat/certs

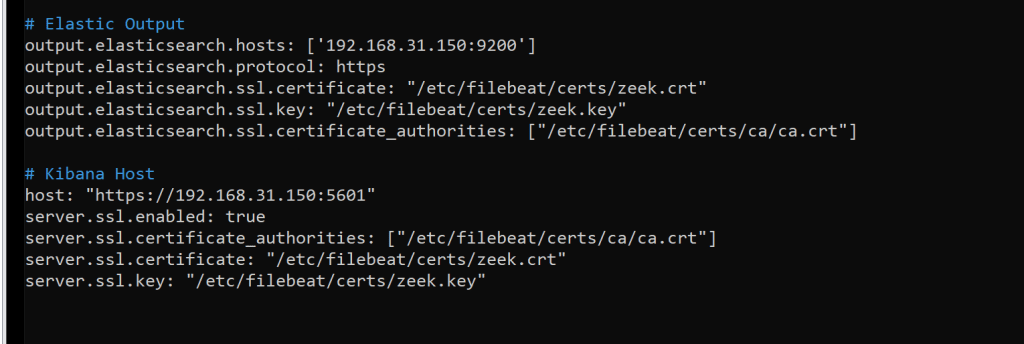
sudo nano /etc/filebeat/filebeat.yml
# Elastic Output
output.elasticsearch.hosts: [‘192.168.31.150:9200’]
output.elasticsearch.protocol: https
output.elasticsearch.ssl.certificate: “/etc/filebeat/certs/zeek.crt”
output.elasticsearch.ssl.key: “/etc/filebeat/certs/zeek.key”
output.elasticsearch.ssl.certificate_authorities: [“/etc/filebeat/certs/ca/ca.crt”]
# Kibana Host
host: “https://192.168.31.150:5601“
server.ssl.enabled: true
server.ssl.certificate_authorities: [“/etc/filebeat/certs/ca/ca.crt”]
server.ssl.certificate: “/etc/filebeat/certs/zeek.crt”
server.ssl.key: “/etc/filebeat/certs/zeek.key”
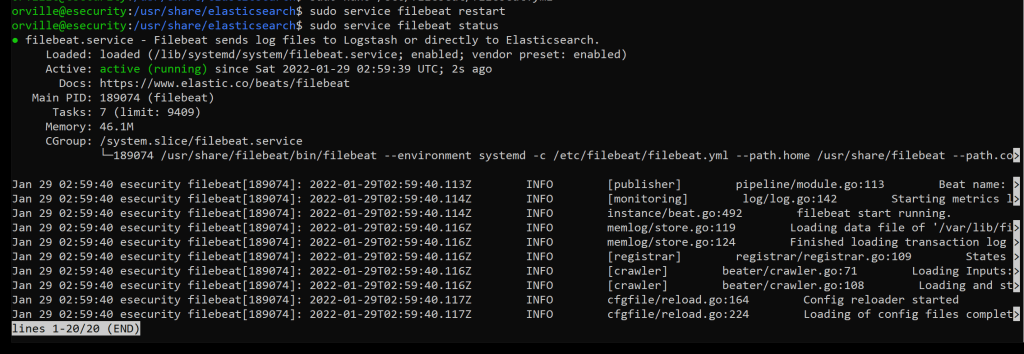
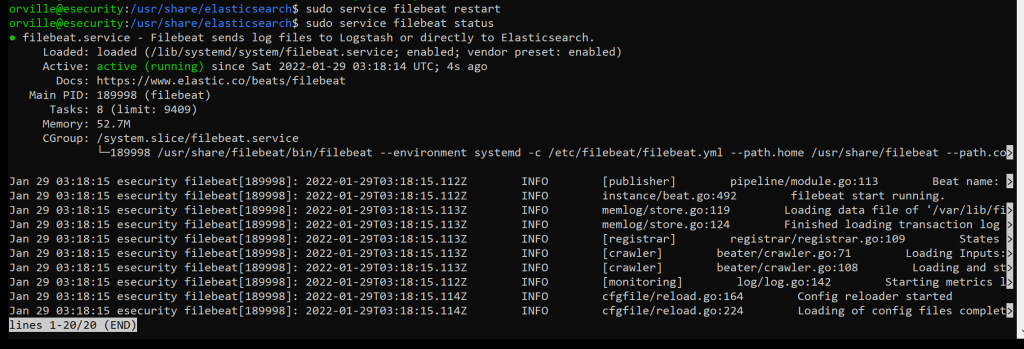
sudo service filebeat restart
sudo service filebeat status
sudo filebeat test output

Take a snapshot
Adding Authentication
sudo nano /etc/elasticsearch/elasticsearch.yml
# X-Pack Setting
xpack.security.enabled: true

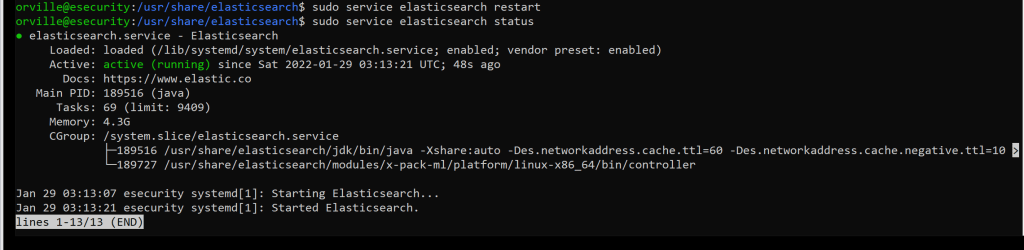
sudo service elasticsearch restart
sudo service elasticsearch status
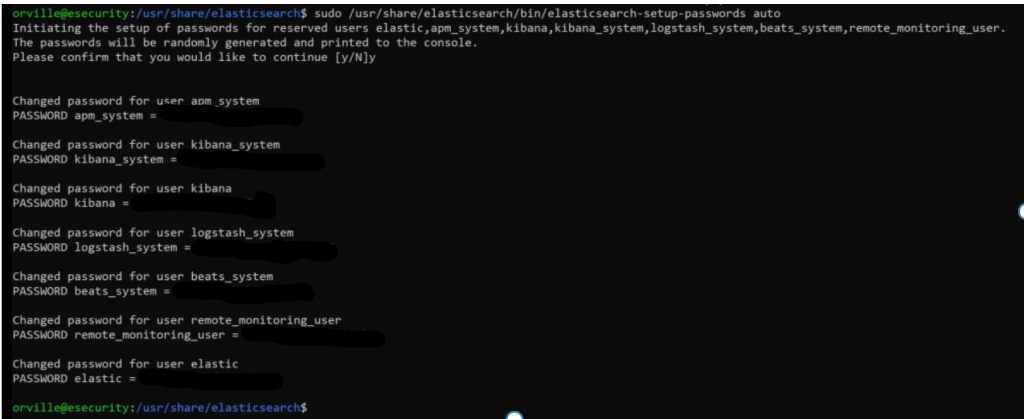
sudo /usr/share/elasticsearch/bin/elasticsearch-setup-passwords auto

sudo service filebeat restart
sudo service filebeat status
sudo nano /etc/kibana/kibana.yml

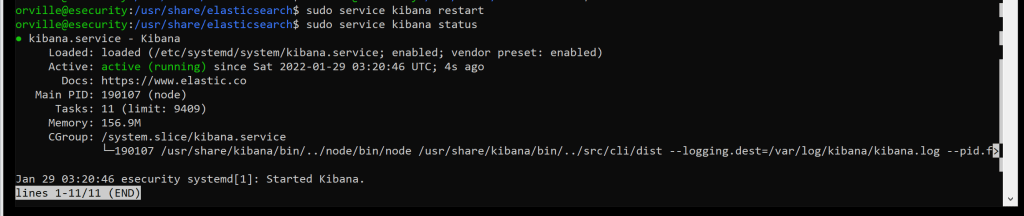
sudo service kibana restart
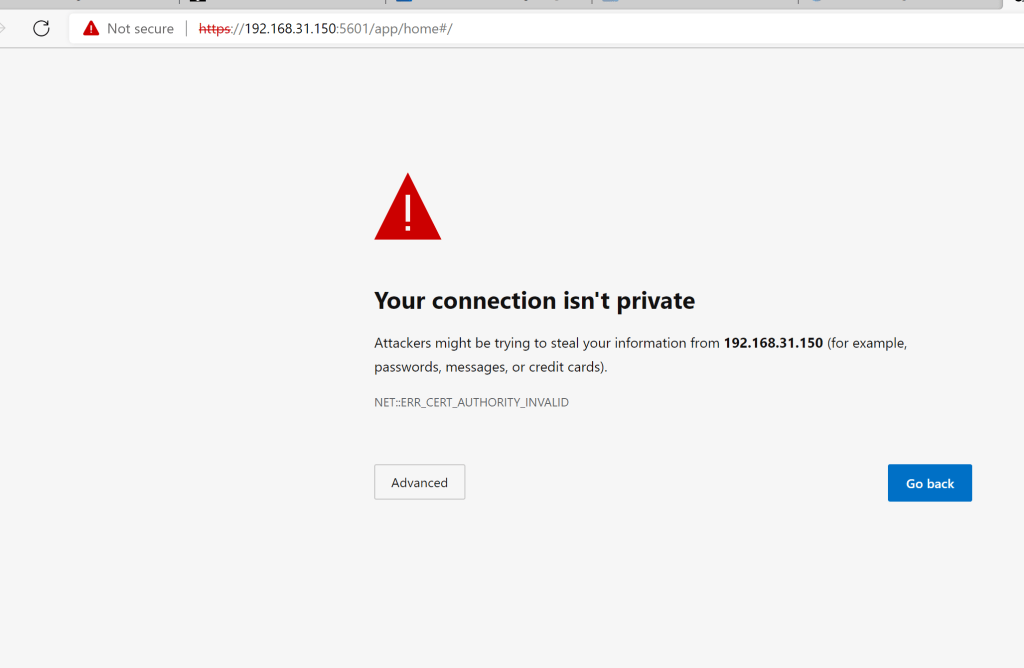
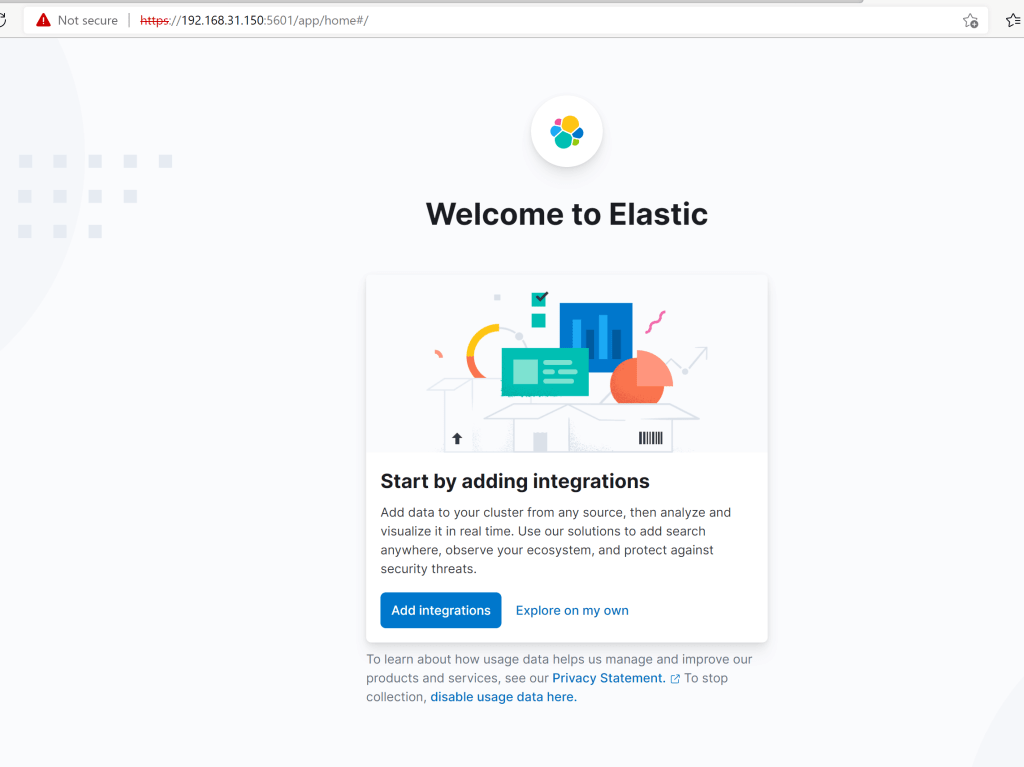
sudo service kibana status
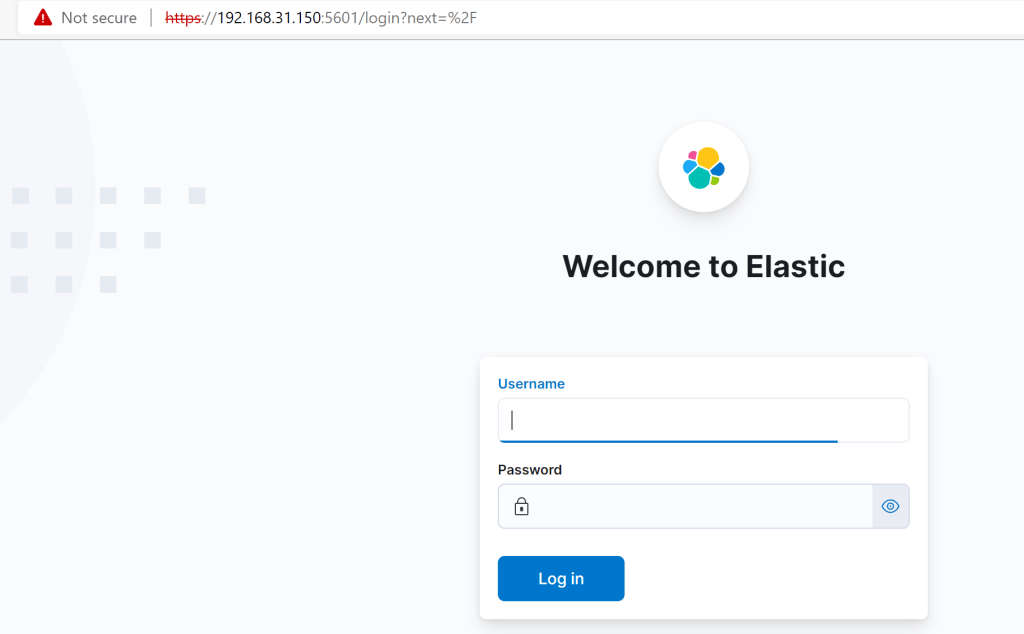
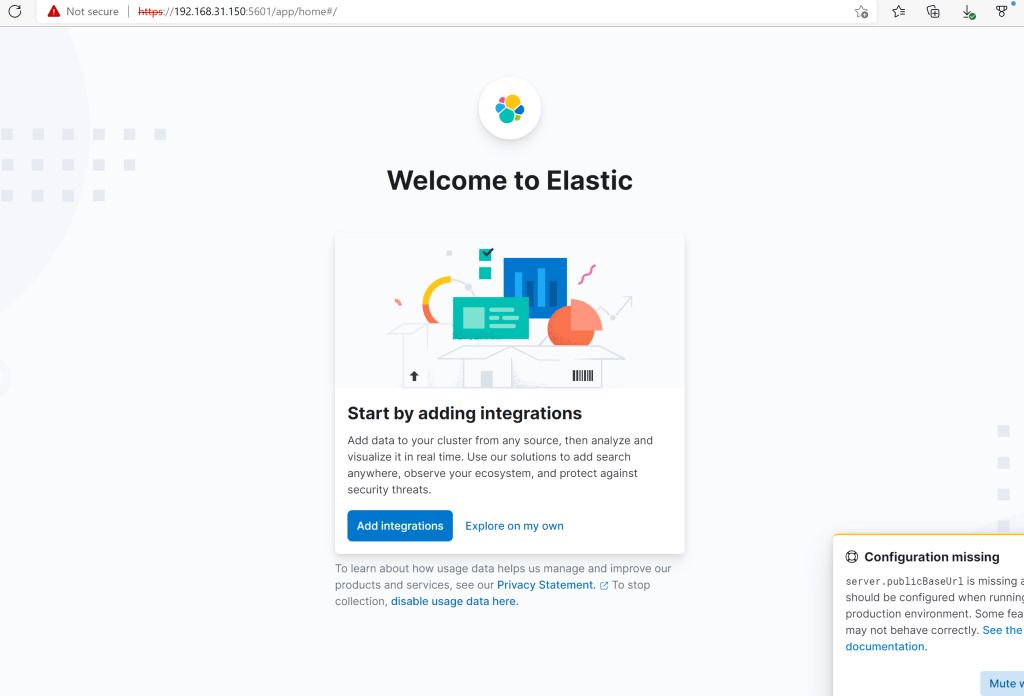
There should be a login prompt now
Installing the Elastic Alert EDR Agent
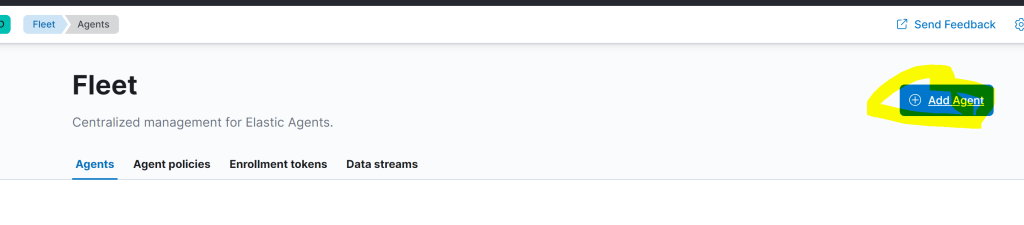
Navigate to the “Fleet” dashboard.

From the fleet management menu, click “add agent”. .
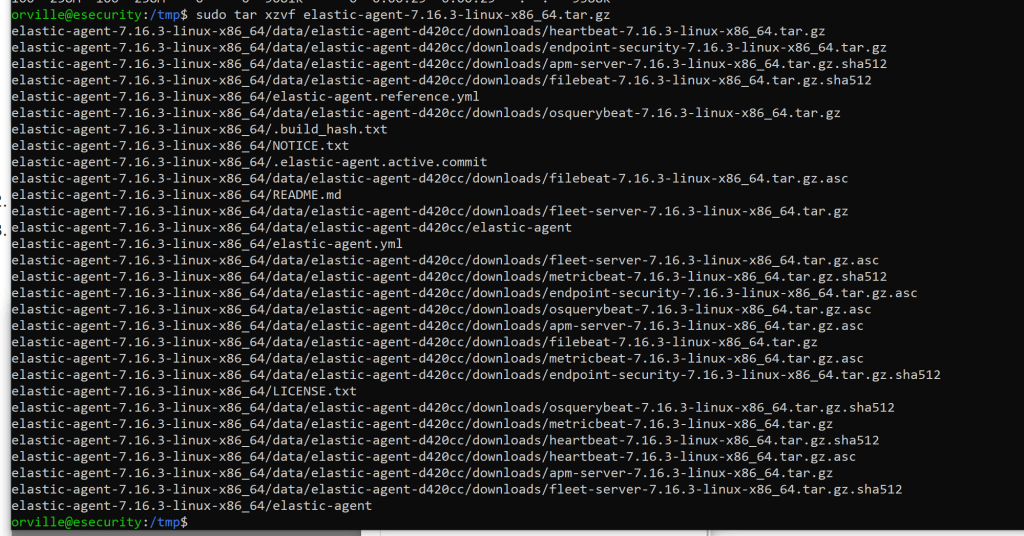
download the agent and untar it
Install Fleet-managed Elastic Agents | Fleet and Elastic Agent Guide [7.16] | Elastic
sudo mkdir tmp
cd tmp

sudo curl -L -O https://artifacts.elastic.co/downloads/beats/elastic-agent/elastic-agent-7.16.3-linux-x86_64.tar.gz

sudo tar xzvf elastic-agent-7.16.3-linux-x86_64.tar.gz

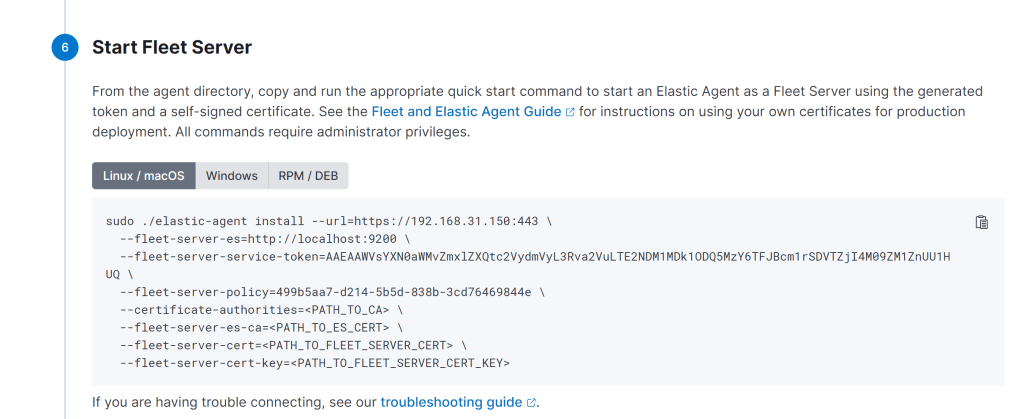
sudo ./elastic-agent install –url=https://192.168.31.150:8220 –fleet-server-es=https://192.168.31.150:9200 –fleet-server-service-token=AAEAAWVsYXN0aWMvZmxlZXQtc2VydmVyL3Rva2VuLTE2NDM2ODI3ODYwOTc6SFpsU05saUhRcUdFb2NZenJqbU5KUQ –fleet-server-policy=499b5aa7-d214-5b5d-838b-3cd76469844e –certificate-authorities=/etc/elasticsearch/certs/ca/ca.crt –fleet-server-es-ca=/etc/elasticsearch/certs/ca/ca.crt –fleet-server-cert=/etc/elasticsearch/certs/elasticsearch.crt –fleet-server-cert-key=/etc/elasticsearch/certs/elasticsearch.key
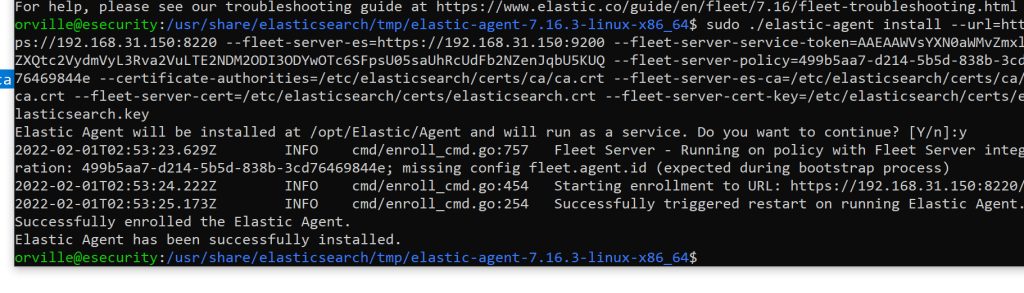
If you get the below it is working.

Hit continue

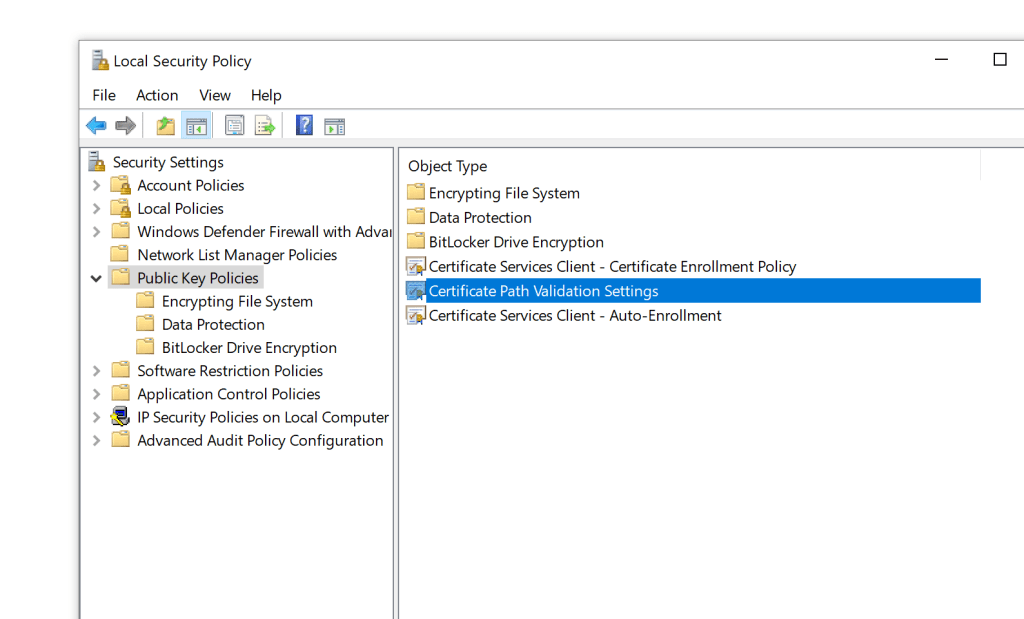
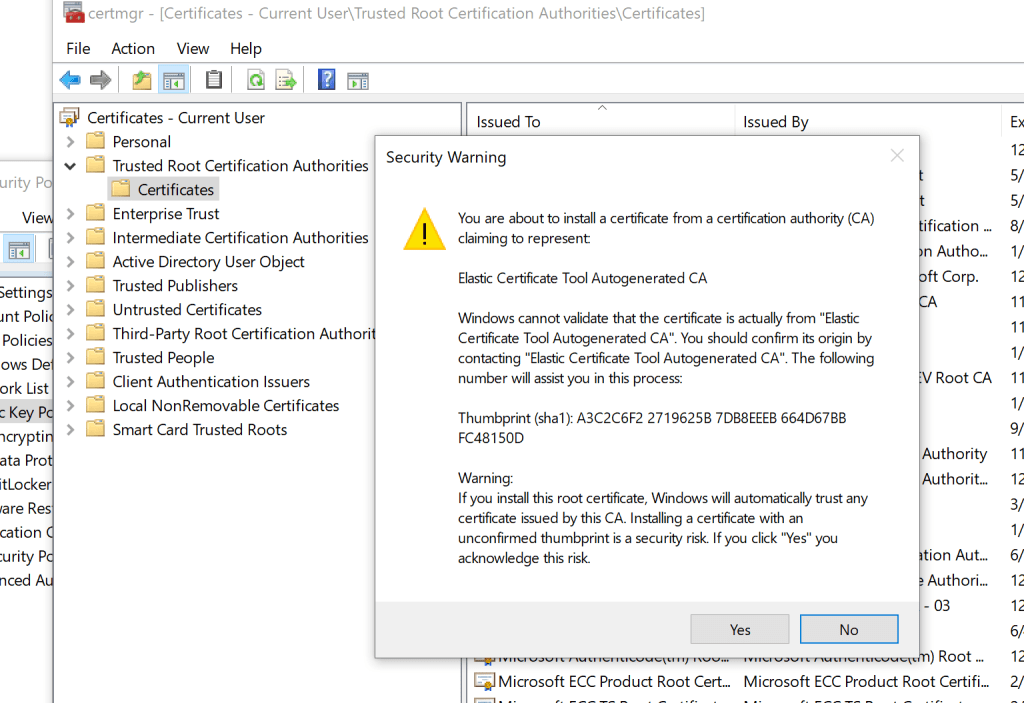
Copy the ca.crt file to the windows machine and open the local security policy and make the below changes.

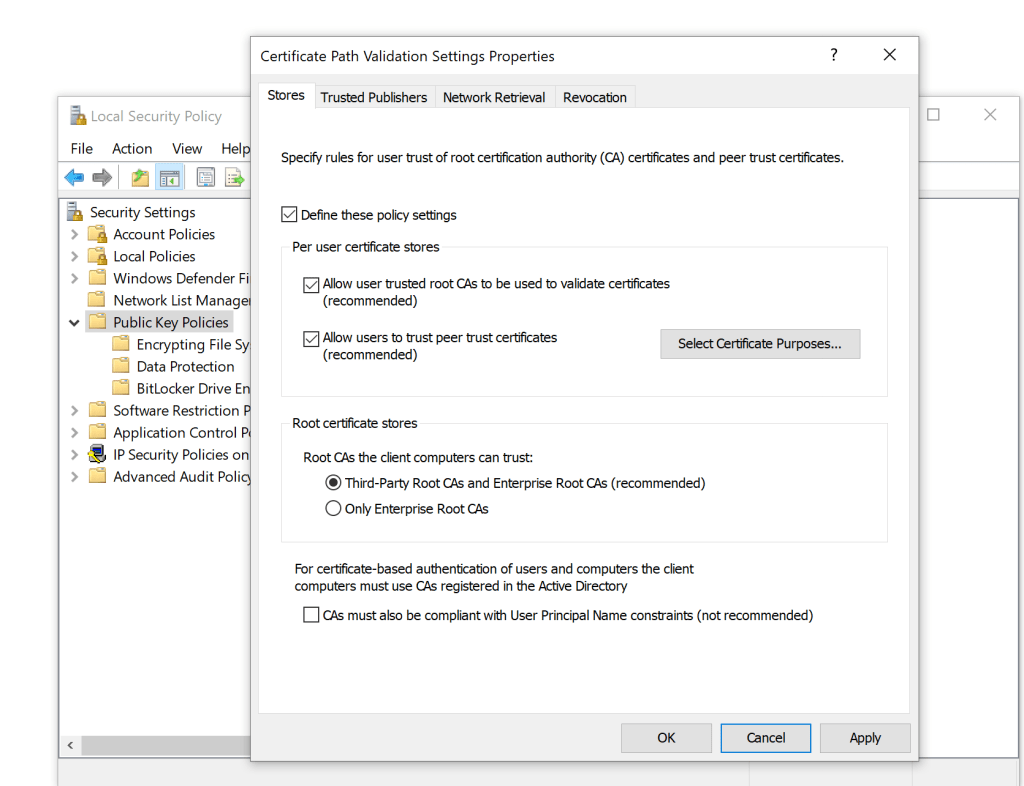
click ok
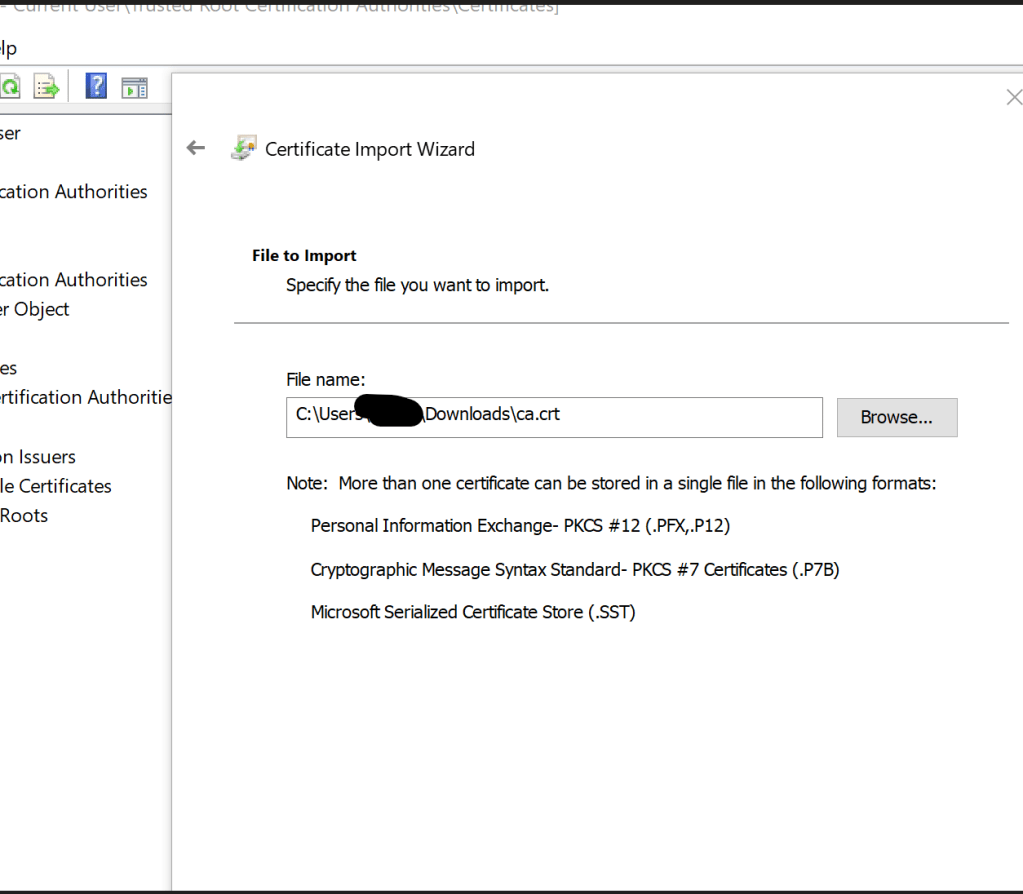
Opencertmgr.msc
Go to Trusted Root Certification Authorities > Certificates. Select All Tasks > Import
Use the ca.crt file that was copied to the machine.
Add the agent.

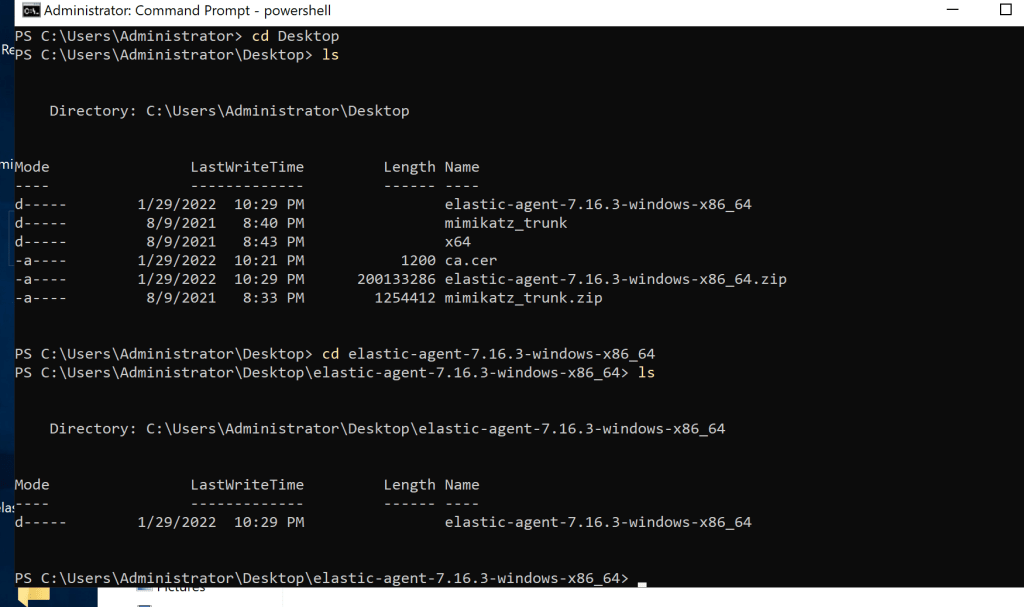
Download and unzip the agent on the windows host. Open PowerShell as admin and change to the folder the agent is in.
.\elastic-agent.exe install –url=https://192.168.31.150:8220 –enrollment-token=RzhQcW8zNEJDTXdoTmZhcHdEUnE6eGUzUjFSUnhSTy13Rmk1b3IxdUZPQQ==
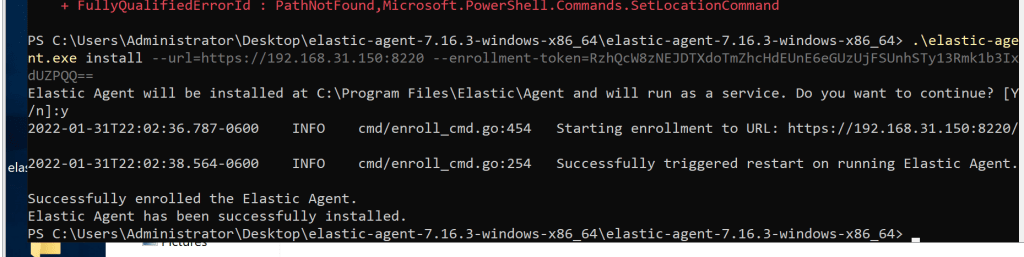
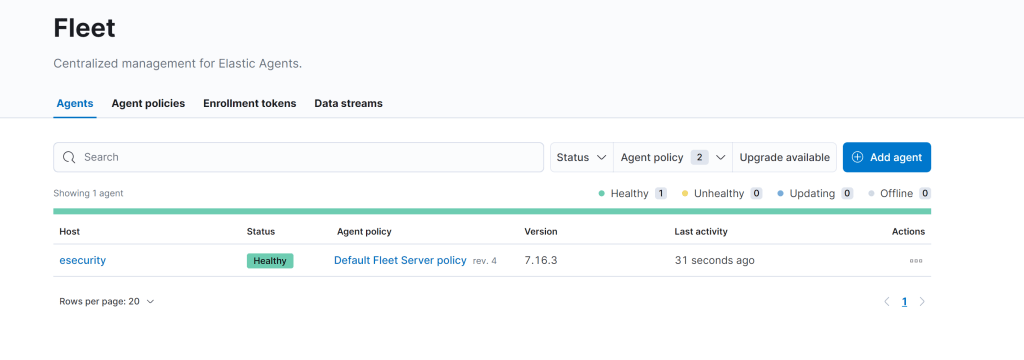
Now you should see the new agent.

In Kibana, go to Security-> Endpoints
Click Add Endpoint Security button
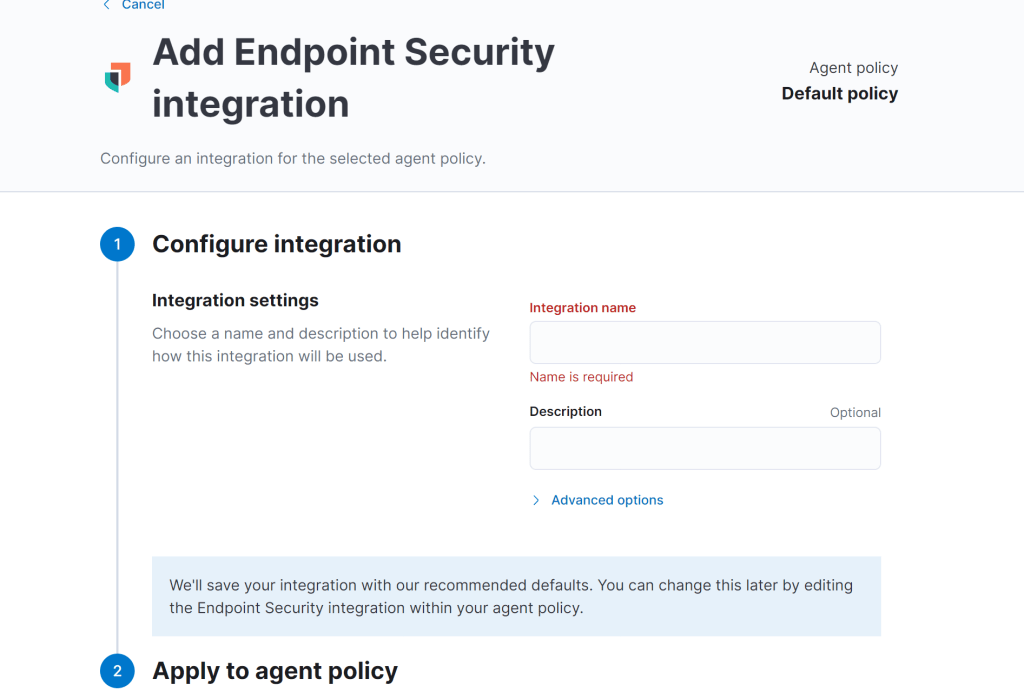
Start configuring the Endpoint Security Integration. Name the Integration whatever you want (e.g., secure). Select Default Fleet Server policy -> Save Integration -> Save and Deploy Changes.
Adding Detections
I also had to add these detections that was mentioned in the site I was following. It can be any 32 bit key.

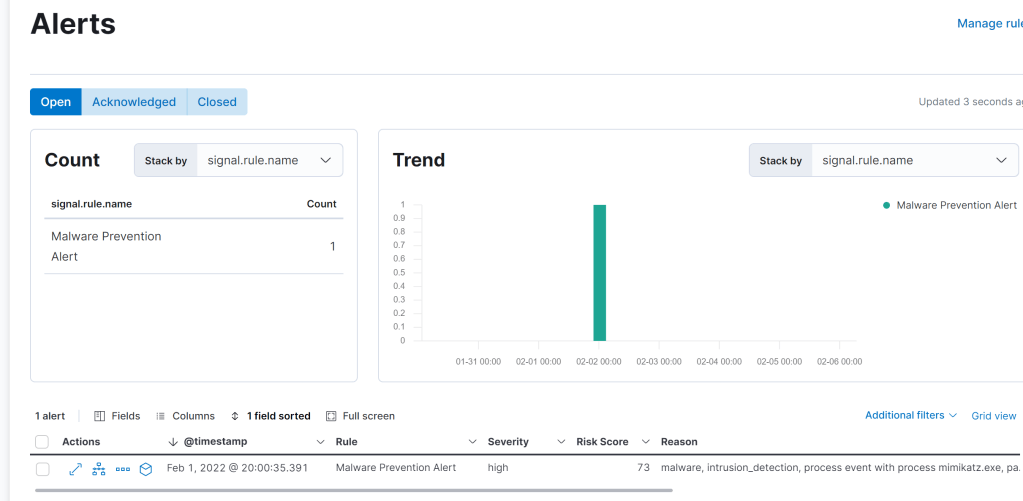
Testing it
I ran Mimikatz on the server I installed the agent on and got an alert.
Site I used to help me.
Just a blog to keep track of my journey